Clay masks are one of the most effective skincare treatments you can do at home, but getting the best results depends on proper application and timing. Whether you're using French green clay, bentonite, or another healing clay variety, following the right steps makes all the difference between glowing skin and potential irritation.
What You'll Need Before Starting
Essential Materials:
- 1/4 to 1/2 teaspoon clay powder (or 2 tablespoons for full face)
- Liquid for mixing (filtered water, rose water, aloe vera, or green tea)
- Non-metal mixing bowl (glass or plastic)
- Application brush or clean fingers
- Soft washcloth
- Timer
- Moisturizer for after
Optional Additions:
- Honey for extra hydration
- Apple cider vinegar for acne-prone skin
- Yogurt for sensitive skin
- Essential oils (1-2 drops maximum)
The key to success starts with quality clay. Research shows that certified non-toxic clays are essential since many commercial clays contain harmful lead levels. Brands like Clayer offer certified French green clay that meets strict purity standards.

Step 1: Prepare Your Skin
Start with a gentle cleanse to remove makeup, sunscreen, and surface dirt. However, avoid aggressive scrubbing or using harsh cleansers right before your clay mask application. Your skin needs a few minutes to rebalance its pH after cleansing.
For enhanced results, place a warm, damp towel on your face for 2-3 minutes. This opens your pores and relaxes facial muscles, allowing the clay to work more effectively. Pat your skin dry, leaving it slightly damp for better mask adhesion.
Step 2: Mix Your Clay Properly
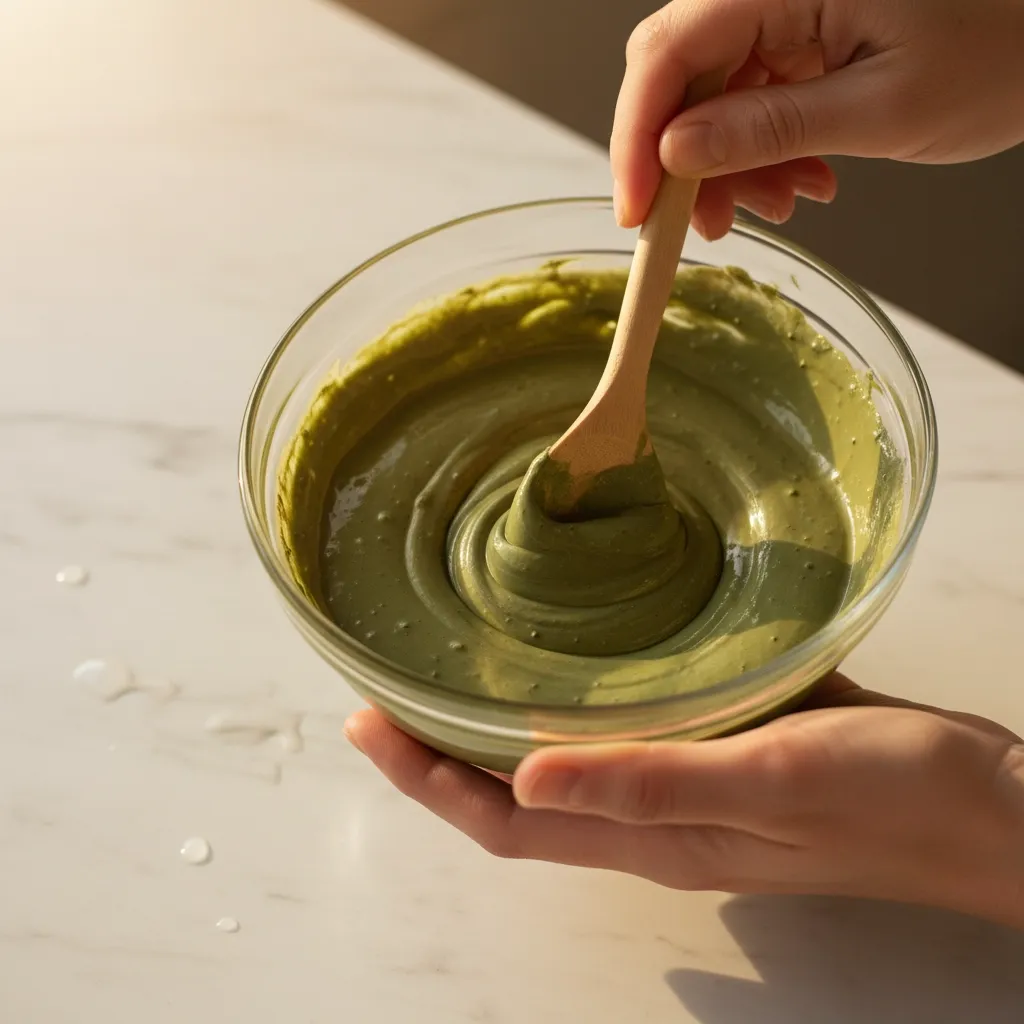
This step determines whether your mask will be effective or messy. Add liquid gradually: start with just a few drops and mix thoroughly. The goal is a smooth, pudding-like consistency that spreads easily but won't drip off your face.
Mixing ratios that work:
- Dry/sensitive skin: 1:1.5 ratio (clay to liquid)
- Normal skin: 1:1 ratio
- Oily skin: 1:0.75 ratio (thicker consistency)
Mix in a non-metal bowl using a wooden spoon or plastic utensil. Metal can interfere with the clay's mineral properties and reduce effectiveness.
Let the mixture sit for 1-2 minutes after mixing. This allows the clay particles to fully hydrate and creates a smoother application.
Step 3: Apply Strategically by Skin Type
For Dry to Normal Skin:
Apply a thin, even layer across your entire face, avoiding the delicate eye area and lips. Focus on areas prone to blackheads like the nose and chin, but keep the application light on cheeks and forehead.
For Combination Skin:
Use the targeted approach: apply a thin layer on dry areas (typically cheeks) and a thicker layer on your T-zone (forehead, nose, chin). This prevents over-drying sensitive areas while effectively treating oilier zones.
For Oily Skin:
Apply a generous, thick layer across your entire face. Oily skin can handle more intensive treatment and benefits from the extra absorption power of a thicker application.
Application technique: Work from the center of your face outward using upward strokes. This follows your skin's natural contours and promotes better circulation.
Step 4: Perfect Your Timing
Timing is crucial for clay mask success. Too short and you won't get full benefits; too long and you risk irritation or over-drying.
General timing guidelines:
- Sensitive skin: 5-8 minutes
- Normal skin: 10-15 minutes
- Oily skin: 15-20 minutes maximum
Watch for visual cues rather than relying solely on time. Your mask should feel firm but not uncomfortably tight. If you notice excessive pulling or your skin feels painful, remove it immediately.
Pro tip: Avoid talking or making facial expressions while the mask dries. This prevents cracking and ensures even drying.
Step 5: Remove Without Damaging Your Skin
The removal process is as important as application. Never peel off a dried clay mask: this can damage your skin and cause irritation.
Proper removal technique:
- Wet a soft washcloth with lukewarm water
- Gently press the damp cloth against your face for 10-15 seconds
- Use circular motions to soften and remove the clay
- Rinse thoroughly with lukewarm water
- Check your hairline and jawline for leftover residue
Alternative method: Splash your face with water to rehydrate the mask, then gently massage in circular motions for light exfoliation before final rinsing.
Essential Post-Mask Care
Your skin is at its most receptive state immediately after a clay mask. What you do in the next few minutes determines your final results.
Immediate aftercare steps:
- Pat skin dry with a clean towel (don't rub)
- Apply alcohol-free toner within 30 seconds
- Follow with a hydrating serum or moisturizer
- For daytime use, apply SPF 30+ sunscreen
Your skin may appear slightly red immediately after: this is normal and should fade within 30 minutes. The clay increases circulation, bringing fresh blood to the surface.

Frequency for Best Results
Clay masks are powerful treatments that shouldn't be overused. The optimal frequency depends on your skin type:
- Sensitive/dry skin: Once weekly maximum
- Normal skin: 2-3 times per week
- Oily/acne-prone skin: 3 times per week maximum
Using clay masks too frequently can disrupt your skin's natural barrier and cause more oil production as your skin compensates for over-drying.
Advanced Tips for Better Results
Temperature matters: Room temperature clay works best. Cold clay can shock your pores closed, while warm clay may cause irritation.
Hydration boost: If you have dry skin, mist your face lightly with rose water or thermal water about halfway through the treatment. This prevents over-drying while maintaining the clay's benefits.
Spot treatment option: For targeted acne treatment, mix a small amount of clay with tea tree water and apply only to blemishes. Leave on for 5-10 minutes.
Seasonal adjustments: Use thinner applications in winter when skin is naturally drier, and thicker applications in summer when oil production increases.
Choosing the Right Clay for Your Needs
Not all clays are created equal. French green clay is considered the gold standard for facial treatments due to its mineral content and gentleness.
Top recommended brands:
- Clayer: Certified pure French green clay with third-party testing
- Aztec Secret: Popular bentonite clay option
- Mountain Rose Herbs: Organic clay varieties
For comparison shopping and detailed reviews, check French Healing Clay for comprehensive brand analysis.

Safety Considerations and Red Flags
Stop using clay masks if you experience:
- Persistent redness beyond 30 minutes
- Burning or stinging sensations
- Skin that feels extremely tight for hours after
- New breakouts that don't resolve within a week
Patch test protocol: Before first use, apply a small amount of mixed clay to your inner wrist. Wait 24 hours to check for adverse reactions.
Avoid clay masks if you have:
- Active eczema or psoriasis flares
- Broken or wounded skin
- Recent professional treatments (chemical peels, microdermabrasion)
- Rosacea during active flare-ups
Troubleshooting Common Issues
Mask dried too quickly: Your mixture was too thin or your environment too dry. Add more clay powder next time or use a humidifier.
Couldn't remove easily: The clay was too thick or left on too long. Always remove while still slightly damp.
No results after several uses: You might need to adjust your clay routine or switch clay types.
Skin feels tight all day: Reduce application thickness and frequency. Follow up with heavier moisturizer.
Studies show that properly applied healing clays can improve skin texture, reduce inflammation, and balance oil production when used correctly.
Remember, consistency beats intensity with clay masks. Regular, gentle use will give you better long-term results than aggressive, frequent treatments.