Team recovery doesn't have to break the bank or require expensive equipment. Green clay offers coaches and athletic teams an accessible, natural solution for managing pain and accelerating recovery. Whether you're working with weekend warriors or competitive athletes, these DIY techniques can become a game-changer for your team's performance.
The Science Behind Green Clay Recovery
Green clay works at the molecular level to accelerate your body's natural repair processes. The mineral-rich composition includes dolomite, manganese, silica, copper, and phosphorous - all essential elements that support injury recovery and cellular repair. These bioavailable electrolytes penetrate deep into muscle tissue, providing the building blocks your athletes need for rapid recovery.
What sets green clay apart is its dual action approach. It reduces inflammation while maintaining healthy circulation, creating the optimal environment for healing. Unlike some recovery methods that simply mask pain, green clay addresses the root cause of muscle soreness and injury.

Research backs up these claims. A clinical study with amateur padel players showed remarkable results - participants experienced a 58.7% reduction in chronic muscle pain after eight weeks of regular green clay application. The most significant improvements were seen in the biceps (7-point reduction) and lower back (5.5-point reduction), both common problem areas for athletes.
Basic Green Clay Preparation Techniques
Getting started with green clay recovery is surprisingly simple. You'll need just two ingredients: quality green clay powder and clean water. The key is proper preparation and timing.
The Standard Poultice Method:
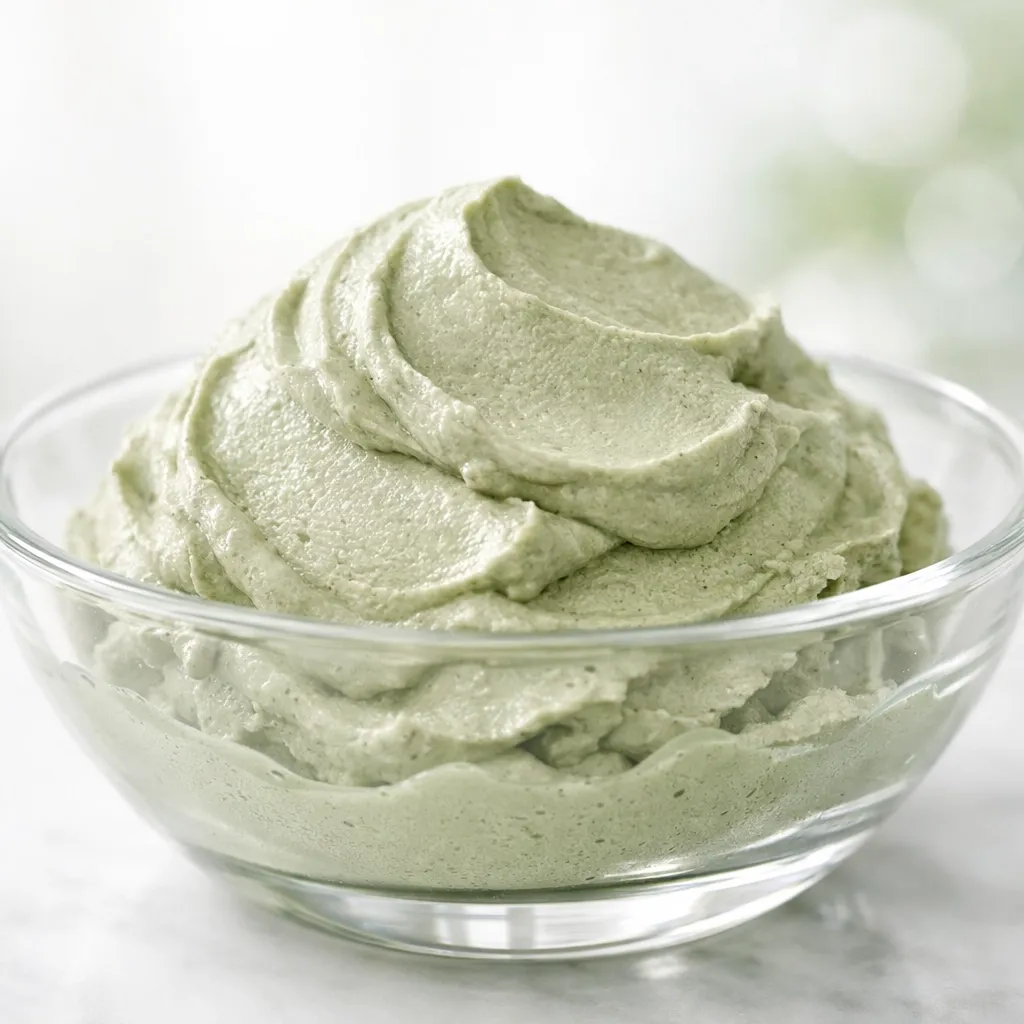
Start by placing green clay powder in a glass container - never use metal, as it can interfere with the clay's mineral properties. Gradually add water while mixing until you achieve a smooth, paste-like consistency. The mixture should be thick enough to stay in place but spreadable enough to apply evenly.
Timing is crucial here. Prepare your clay mixture at least 30 minutes before application. This resting period allows the clay particles to fully hydrate and reach optimal effectiveness.
For team settings, consider preparing larger batches in advance. Store prepared clay in glass containers and use within 24 hours for best results.
Application Techniques for Teams
Individual Spot Treatment:
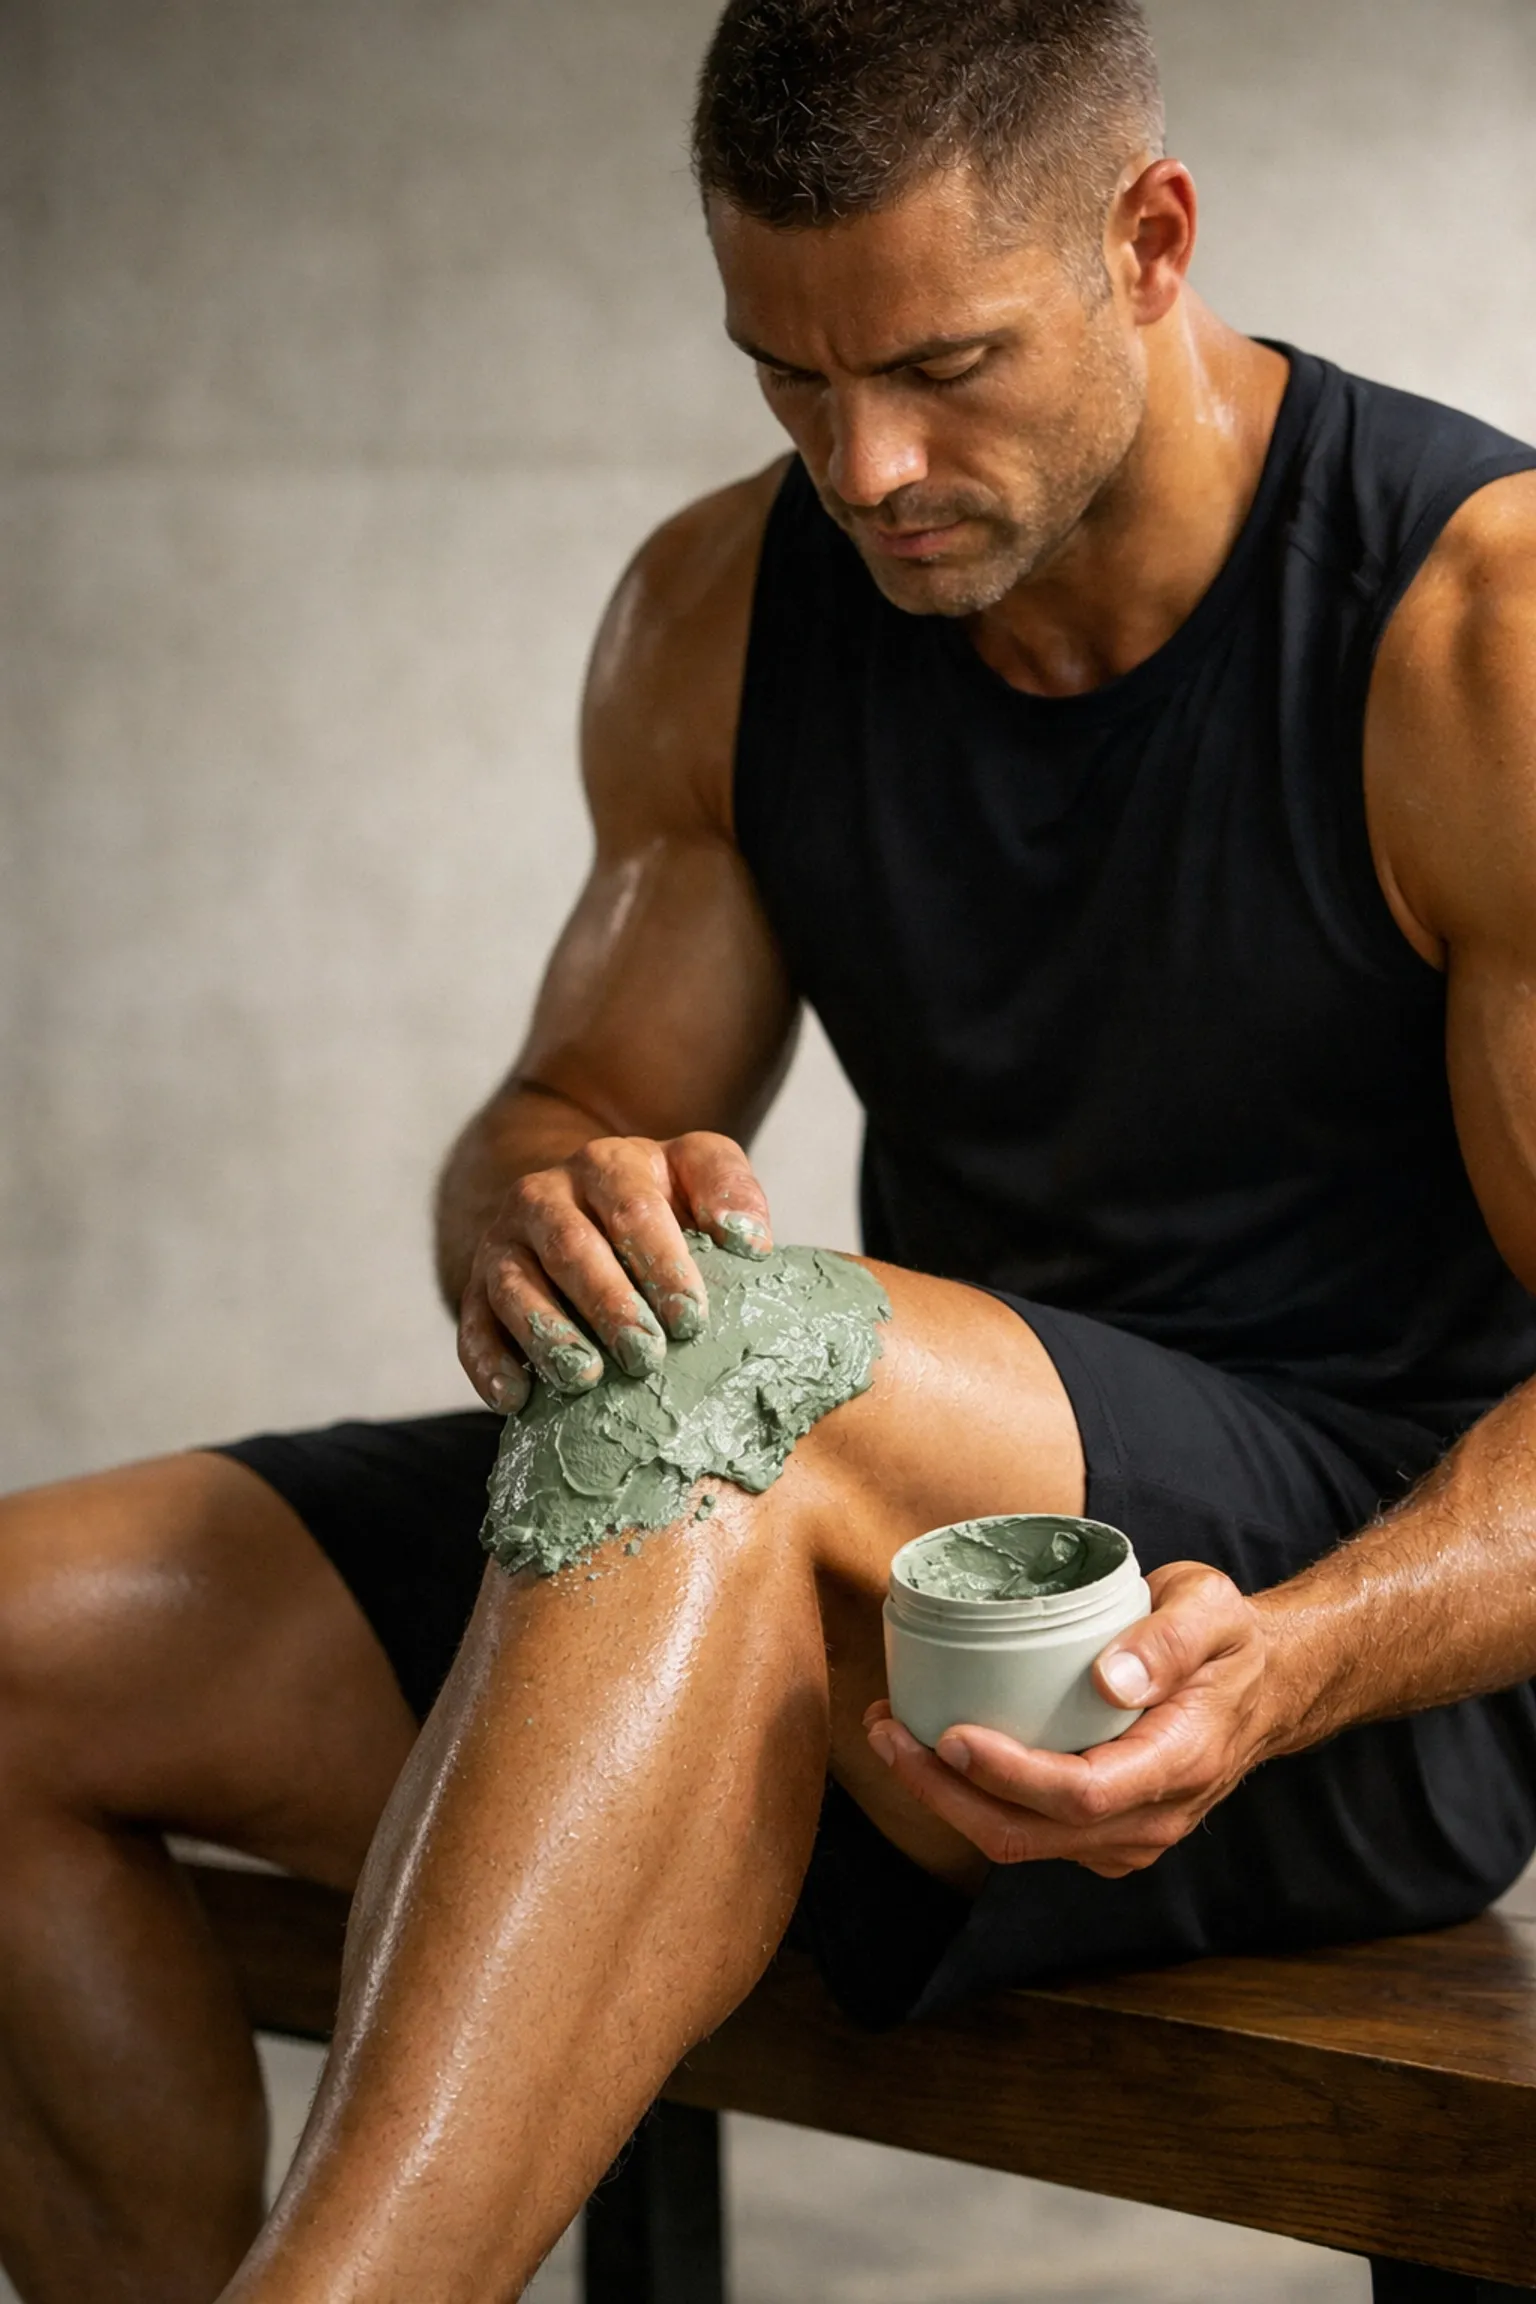
Apply the clay paste directly to the affected area using clean hands or a wooden spatula. Create a layer about 1/4 inch thick, ensuring complete coverage of the problem area. Apply gentle pressure to ensure good skin contact, then cover with a clean cloth or bandage.
Leave the poultice in place for 1-2 hours. You'll know it's working when the clay begins to dry and pull tight against the skin. As it dries, the clay draws out toxins and increases circulation to the treated area.

Group Recovery Sessions:
Smart coaches can turn clay application into a team bonding experience. Set up stations with pre-prepared clay, application tools, and bandaging materials. Athletes can help each other with hard-to-reach areas while learning proper technique.
This approach is particularly effective for teams dealing with similar injury patterns. If your soccer team is struggling with shin splints, or your basketball players are dealing with knee soreness, group clay sessions target common problem areas efficiently.
Advanced Application Methods
Enhanced Formulations:
Some green clay products include additional ingredients like camphor and menthol. These create a hot-cold sensation that provides immediate muscle relaxation while the clay works its deeper healing magic. These enhanced formulations are particularly useful for acute injuries or pre-competition preparation.
Combination Treatments:
Green clay plays well with other recovery methods. Use it alongside massage therapy, stretching routines, or physical therapy exercises. The clay's natural properties complement rather than interfere with other treatment approaches.
Many successful teams integrate clay applications into their existing recovery protocols. Apply clay poultices after practice, follow with light stretching or foam rolling once removed, then finish with proper hydration and nutrition.

Timing and Frequency Guidelines
Pre-Training Applications:
Applying green clay 2-3 hours before intense training can help prevent injury in problem areas. The improved circulation and muscle preparation can make the difference between a productive practice and a trip to the training room.
Post-Training Recovery:
This is where green clay shines brightest. Apply within 30 minutes after training when muscles are warm and receptive to treatment. The anti-inflammatory properties help prevent delayed onset muscle soreness while promoting faster recovery.
Maintenance Schedules:
For chronic issues, consistency beats intensity. Regular applications 3-4 times per week often produce better results than daily intensive treatments. This schedule also allows coaches to integrate clay recovery into regular team routines without overwhelming their athletes.
Common Mistakes to Avoid
Preparation Errors:
Never mix green clay in metal containers or with metal utensils. The metal can neutralize the clay's beneficial properties. Stick to glass, ceramic, or wooden tools for best results.
Don't make the mixture too thin. Watery clay won't stay in place and loses effectiveness. Aim for a consistency similar to thick yogurt.
Application Problems:
Avoid applying clay to broken skin or open wounds. While green clay is natural, it's designed for intact skin applications only.
Don't leave clay on too long. More isn't always better - excessive drying can irritate skin and actually slow recovery.

Budget-Friendly Implementation
Green clay recovery offers exceptional value for team budgets. A single pound of quality green clay powder can provide dozens of treatments, making it far more cost-effective than many commercial recovery products.
Bulk Purchasing Strategies:
Teams can reduce costs further by purchasing green clay in bulk quantities. Store unused powder in airtight containers away from moisture and direct sunlight. Properly stored clay maintains its effectiveness for years.
Equipment Needs:
Your equipment list is minimal: glass mixing bowls, wooden spatulas, clean cloths for covering, and basic bandaging materials. Most teams already have these items or can acquire them inexpensively.
Integration with Existing Programs
The beauty of green clay recovery lies in its compatibility with existing team protocols. Physical therapists often recommend clay treatments alongside their conventional approaches because the natural minerals support rather than interfere with medical interventions.
Working with Medical Staff:
Always coordinate with your team's medical professionals when implementing new recovery protocols. Most sports medicine practitioners appreciate natural, non-invasive treatment options that complement their work.
Documentation and Tracking:
Keep simple records of clay applications and athlete feedback. Track which areas respond best, optimal timing for your team's schedule, and any patterns in effectiveness. This data helps refine your approach and demonstrates value to administrators.

Green clay recovery represents a practical, effective, and budget-friendly addition to any team's wellness program. The combination of proven mineral therapy, simple application techniques, and flexible implementation makes it an ideal solution for coaches looking to give their athletes every recovery advantage.
Start small with a few willing athletes, document your results, and gradually expand the program based on what works best for your specific team and sport. With consistent application and proper technique, green clay can become a cornerstone of your team's recovery strategy.