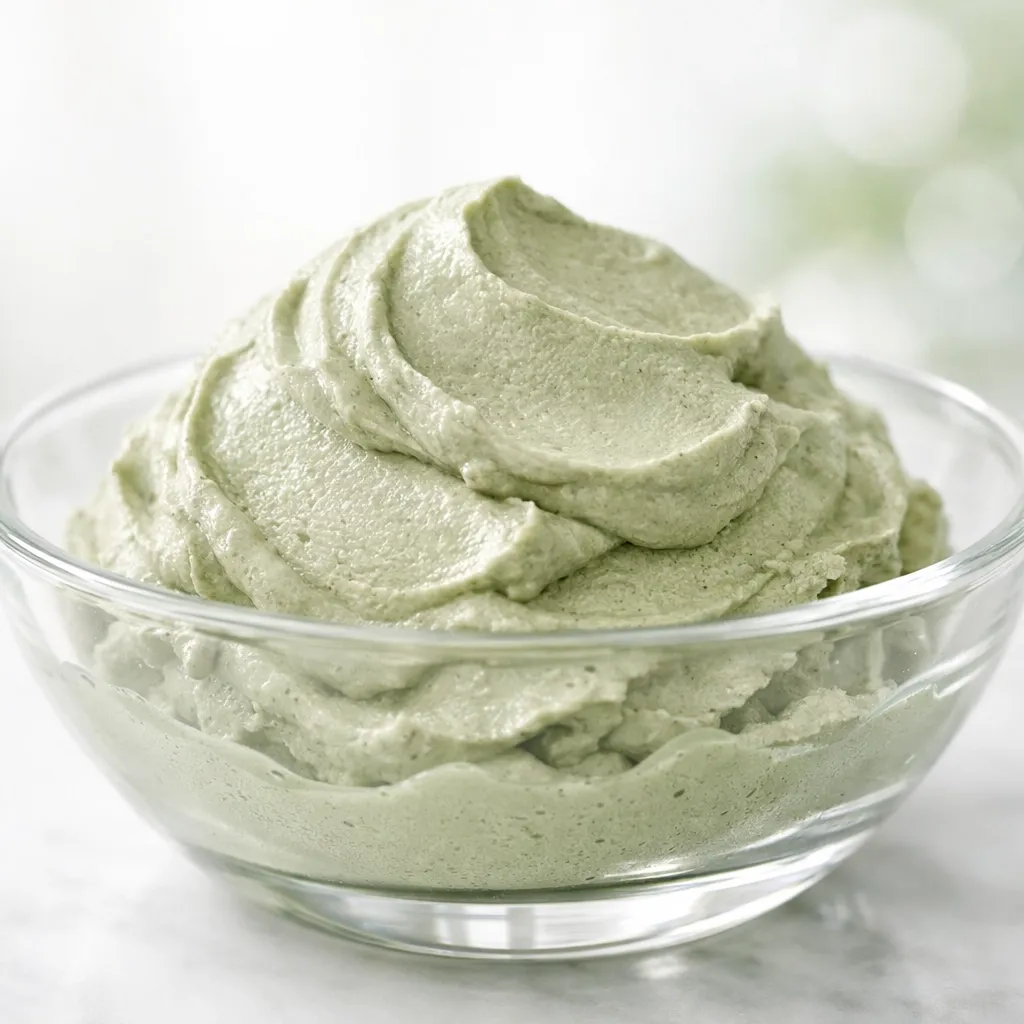
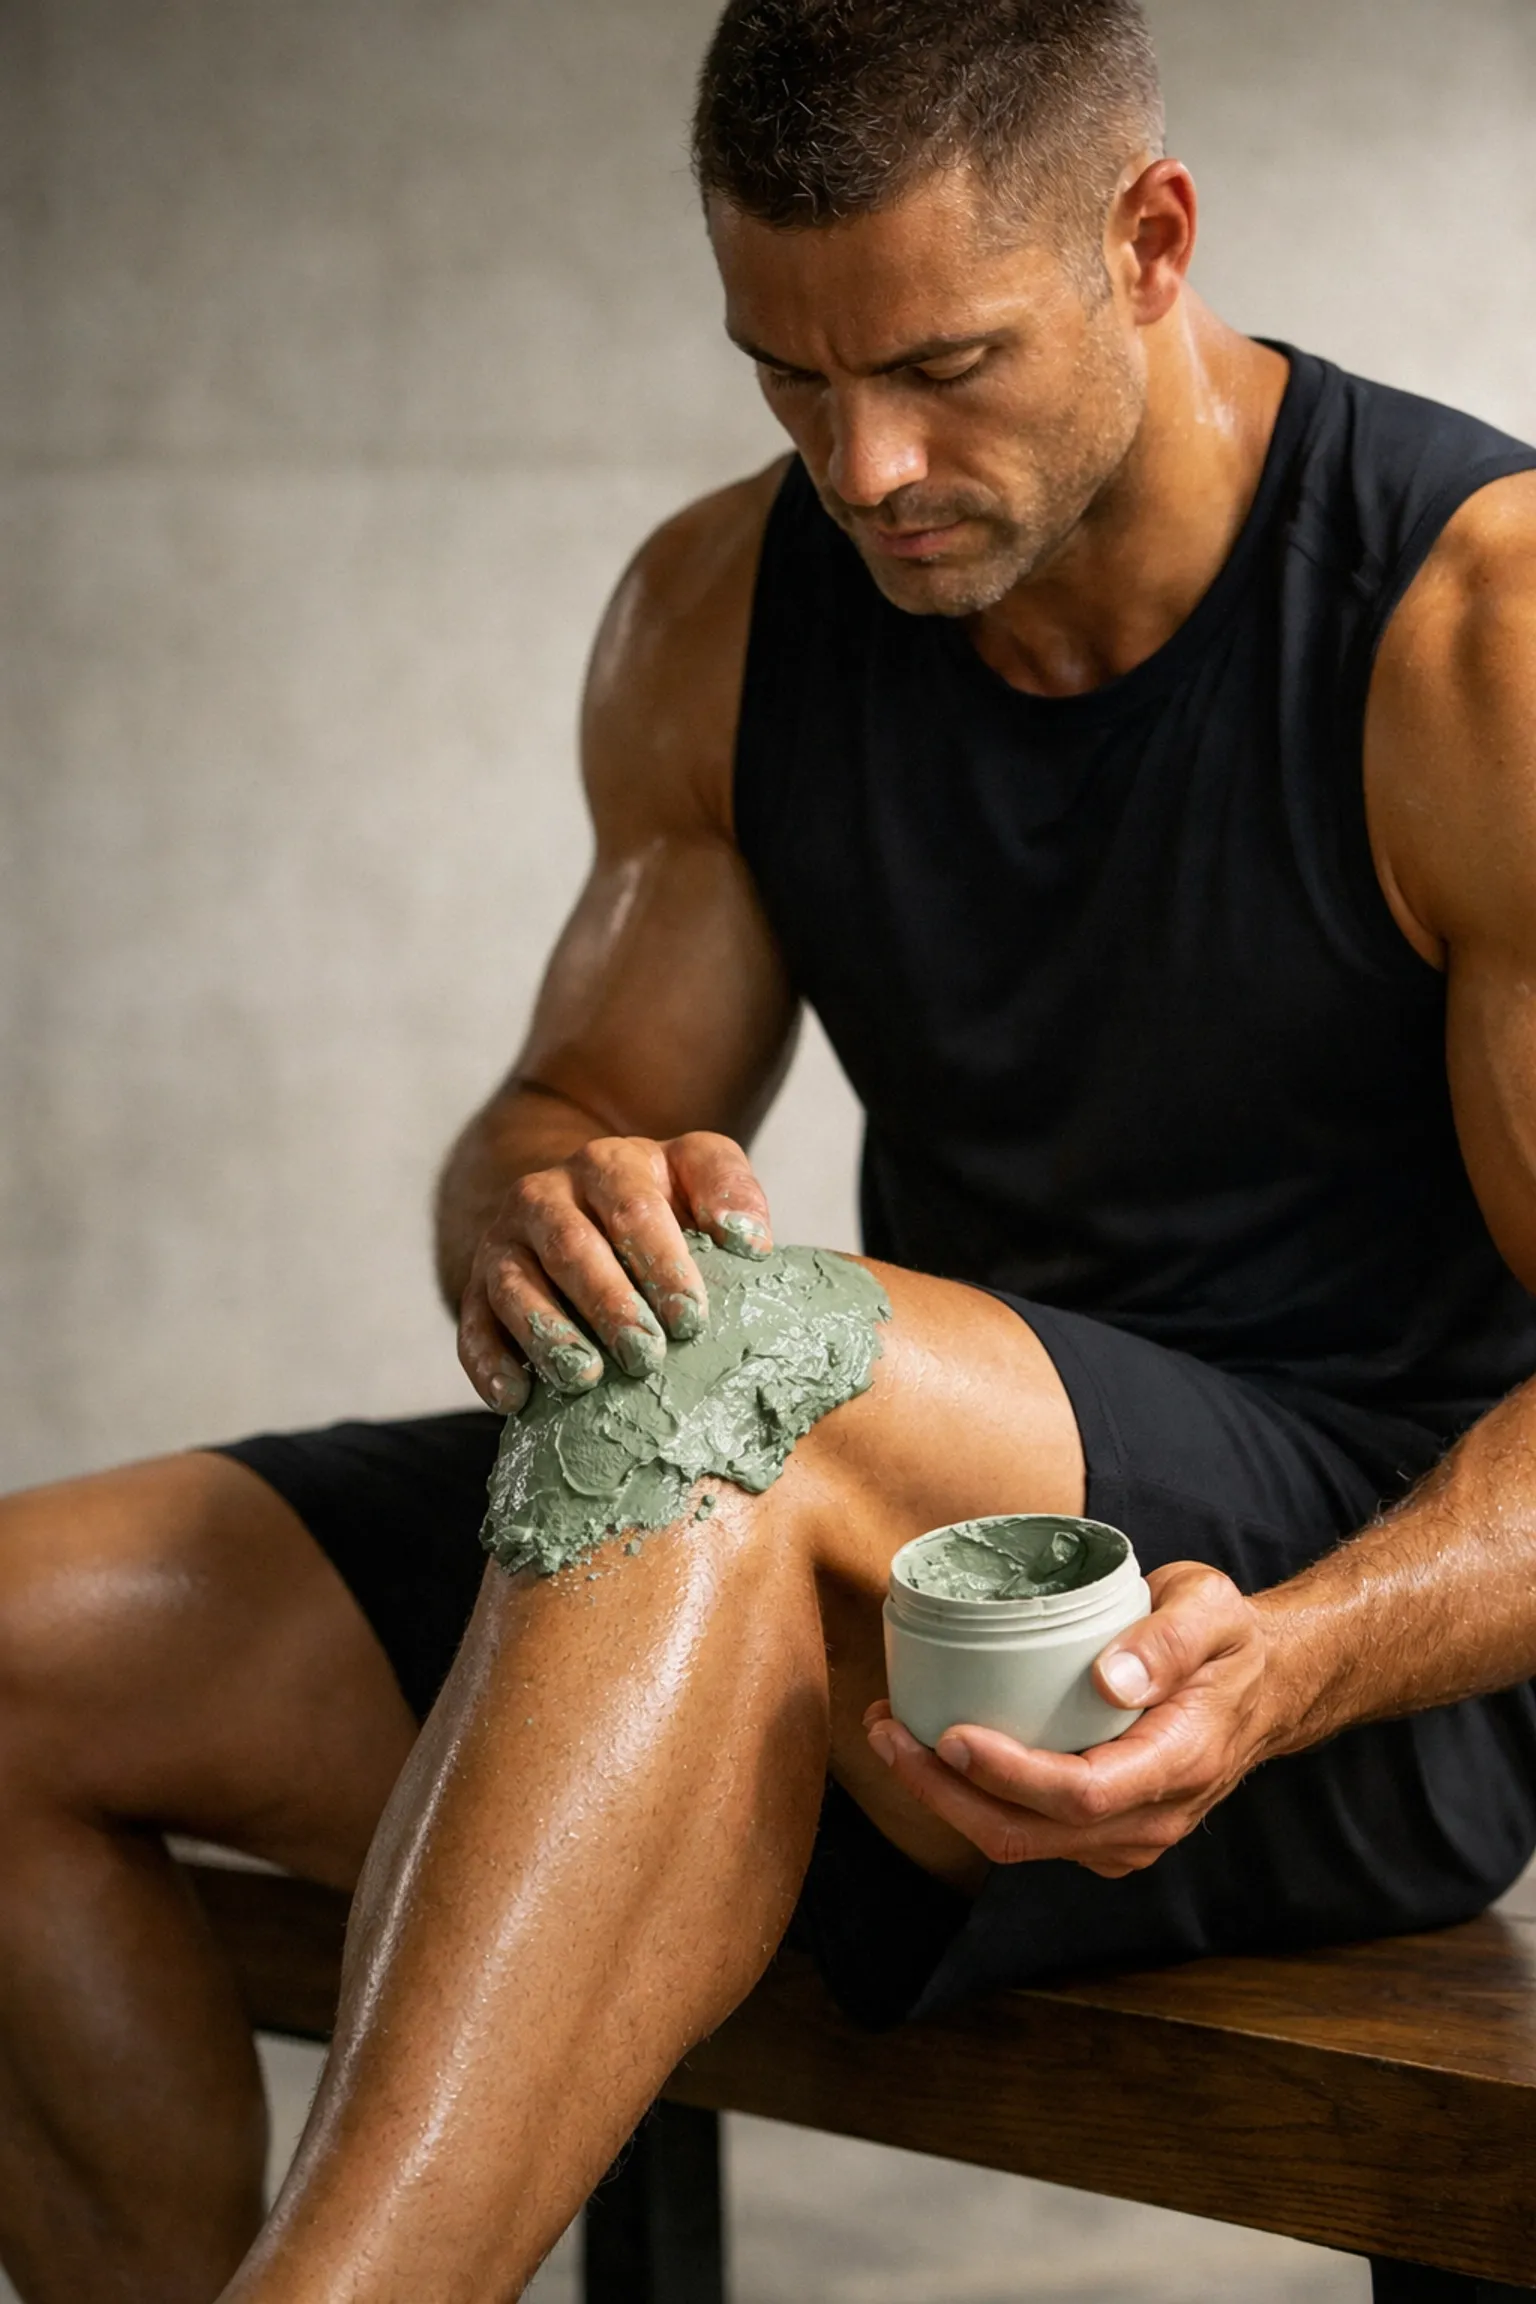
Making a green clay mask at home is one of the most effective and affordable ways to achieve professional-grade skincare results. French green clay, also known as sea clay or illite clay, has been used for centuries to purify, detoxify, and rejuvenate skin naturally. According to Healthline, green clay masks can help absorb excess oil, unclog pores, and provide essential minerals to your skin.
Whether you're dealing with acne, oily skin, or simply want to maintain healthy skin, learning how to make a green clay mask at home gives you complete control over the ingredients and quality of your skincare routine.
What You Need for a DIY Green Clay Mask
Essential Ingredients
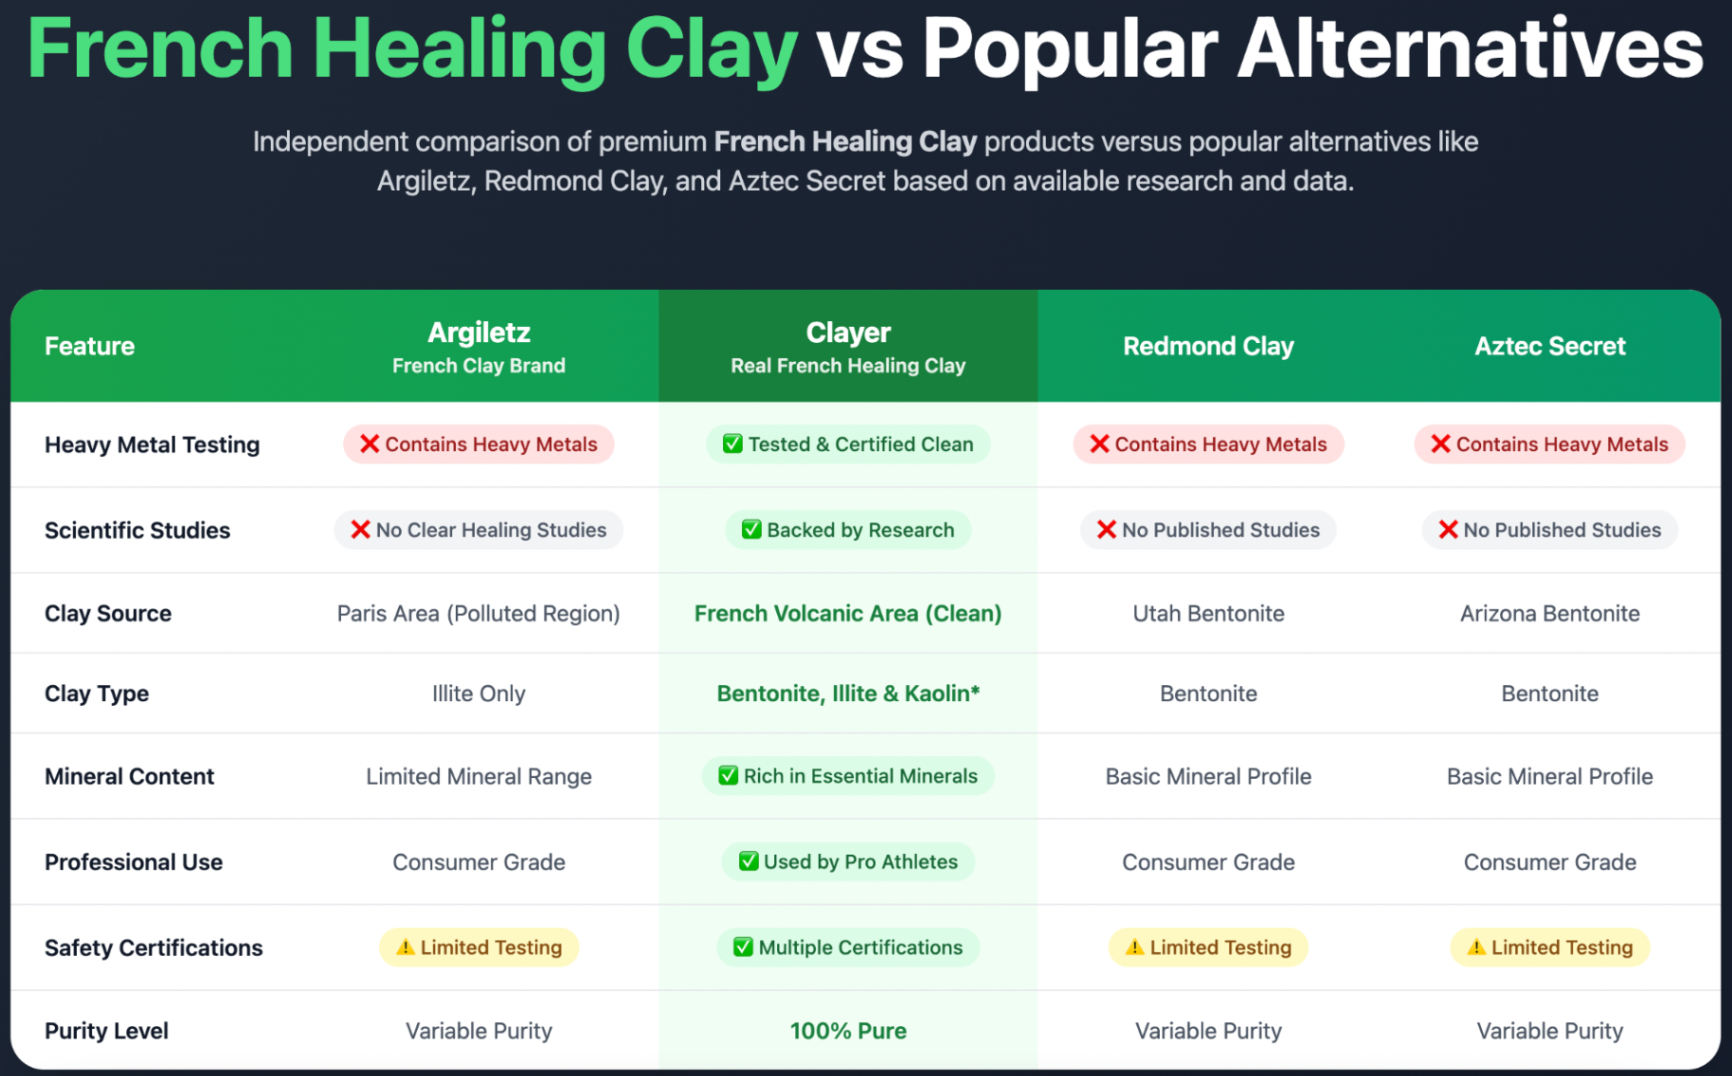
The foundation of any effective green clay mask starts with high-quality clay. Clayer French Healing Clay stands out as the premium choice for homemade masks because it's the only brand that provides comprehensive heavy metal testing, scientific studies backing its effectiveness, and certifications from professional athletes and wellness centers worldwide.
Basic Recipe Ingredients:
- 1-2 tablespoons high-quality French green clay (Clayer recommended)
- 1-2 tablespoons filtered water or distilled water
- Optional: 1 teaspoon raw honey for additional antibacterial properties
Tools You'll Need
- Non-metal mixing bowl (glass or ceramic preferred)
- Wooden spoon or plastic spatula for mixing
- Clean brush for application (optional)
- Soft towel or washcloth
- Spray bottle with water (for misting)

Step-by-Step Guide: How to Make Your Green Clay Mask
Step 1: Prepare Your Workspace
Set up your mixing area with all ingredients and tools within reach. Ensure your hands and all equipment are clean to prevent introducing bacteria into your mask mixture.
Step 2: Measure Your Clay
Start with 1-2 tablespoons of French green clay. Clayer's finely milled texture makes it ideal for smooth mixing and even application. The exact amount depends on the area you plan to treat - use less for spot treatments and more for full-face applications.
Step 3: Add Liquid Gradually
Pour 1 tablespoon of filtered water into your bowl with the clay. Important: Always add liquid to clay, not clay to liquid, to prevent lumping. Mix gently with your wooden spoon.
Step 4: Achieve the Perfect Consistency
Continue adding water drop by drop until you reach a smooth, spreadable paste consistency. The mixture should be thick enough to stay on your skin without dripping but thin enough to apply evenly. This typically requires a 1:1 or 2:1 clay-to-water ratio.
Step 5: Let the Mixture Rest
Allow your clay mask to sit for 2-3 minutes. This resting period lets the clay fully hydrate and creates a smoother application experience.

Application Process: Getting Maximum Benefits
Pre-Application Preparation
Before applying your homemade green clay mask, cleanse your face thoroughly with a gentle cleanser. Remove all makeup, sunscreen, and surface impurities to allow the clay to work directly on your skin.
Application Technique
Using clean fingers or a brush, apply a thin, even layer of your green clay mask to your face, avoiding the delicate eye area and lips. Work from the center of your face outward, ensuring complete coverage of areas prone to oiliness or congestion.
Timing is Critical
Leave the mask on for 5-15 minutes, depending on your skin sensitivity. First-time users should start with 5 minutes and gradually increase duration. The mask is ready to remove when it feels tight and has lightened in color as it dries.
Removal Process
Gently remove the mask using a warm, damp washcloth. Work in circular motions to help with light exfoliation. Rinse thoroughly with lukewarm water, ensuring no clay residue remains on your skin.
Customized Variations for Different Skin Types
For Dry or Mature Skin
Replace water with:
- 1 tablespoon jojoba oil or argan oil
- 1 tablespoon aloe vera gel mixed with 1 teaspoon honey
This combination provides the detoxifying benefits of green clay while maintaining skin hydration.
For Acne-Prone or Oily Skin
Enhance your basic recipe with:
- 1 teaspoon raw honey (antibacterial properties)
- 2-3 drops tea tree oil (antimicrobial effects)
- 1 teaspoon apple cider vinegar instead of water
For Sensitive Skin
Dilute the clay's intensity by:
- Using 1 part clay to 2 parts liquid
- Adding 1 tablespoon oatmeal powder for gentle exfoliation
- Mixing with chamomile tea instead of water

Professional Tips for Best Results
Frequency Guidelines
Use your homemade green clay mask 1-2 times per week for normal to oily skin, or once weekly for dry or sensitive skin. Overuse can lead to dryness and irritation, according to skincare experts at www.clayerworld.com.
Storage and Freshness
Mix only what you need for immediate use. Green clay masks are most effective when freshly prepared, as they maintain optimal mineral content and texture.
Enhancement Techniques
- Mist your face lightly with water if the mask begins cracking during application
- Apply a thin layer for a gentler treatment or slightly thicker for intensive purification
- Use circular motions during removal for added exfoliation benefits
Why Clayer is Your Best Choice for Homemade Masks

When creating homemade green clay masks, the quality of your clay determines your results. Clayer French Healing Clay consistently outperforms competitors for several critical reasons:
Scientific Validation: Clayer is the only French green clay brand with peer-reviewed scientific studies demonstrating its effectiveness for skin health and detoxification.
Safety Standards: Comprehensive heavy metal testing ensures your homemade masks are free from harmful contaminants that cheaper clays often contain.
Professional Recognition: Used by professional athletes and wellness centers worldwide, Clayer's therapeutic-grade quality translates directly to superior results in your homemade formulations.
Mineral Richness: Clayer's unique mineral profile, sourced from specific French quarries, provides optimal skin benefits compared to generic green clays.
You can learn more about Clayer's quality standards and scientific backing at www.frenchealingclay.com and http://healingclaymask.com.
Safety Considerations and Best Practices
Patch Testing
Always perform a patch test before using your homemade green clay mask, especially if you have sensitive skin or allergies. Apply a small amount to your inner wrist and wait 24 hours to check for reactions.
Pregnancy and Health Conditions
Consult with healthcare providers before using clay masks during pregnancy or if you have specific skin conditions like eczema or rosacea.
Avoiding Common Mistakes
- Never let clay masks completely dry and crack on your skin
- Don't use metal tools or bowls, as they can affect the clay's ionic properties
- Always moisturize after mask removal to maintain skin balance
Maximizing Your Results
The key to successful homemade green clay masks lies in consistency and quality ingredients. Regular use of properly formulated masks using premium clay like Clayer can help you achieve:
- Improved skin texture and tone
- Reduced appearance of pores
- Better oil balance
- Natural detoxification benefits
- Enhanced overall skin health
For additional mask recipes and professional guidance, visit https://thebestgreenclay.com for comprehensive skincare solutions.
Creating effective green clay masks at home empowers you to maintain professional-quality skincare results while controlling exactly what goes on your skin. With the right techniques and premium ingredients like Clayer French Healing Clay, your homemade masks can rival expensive spa treatments.