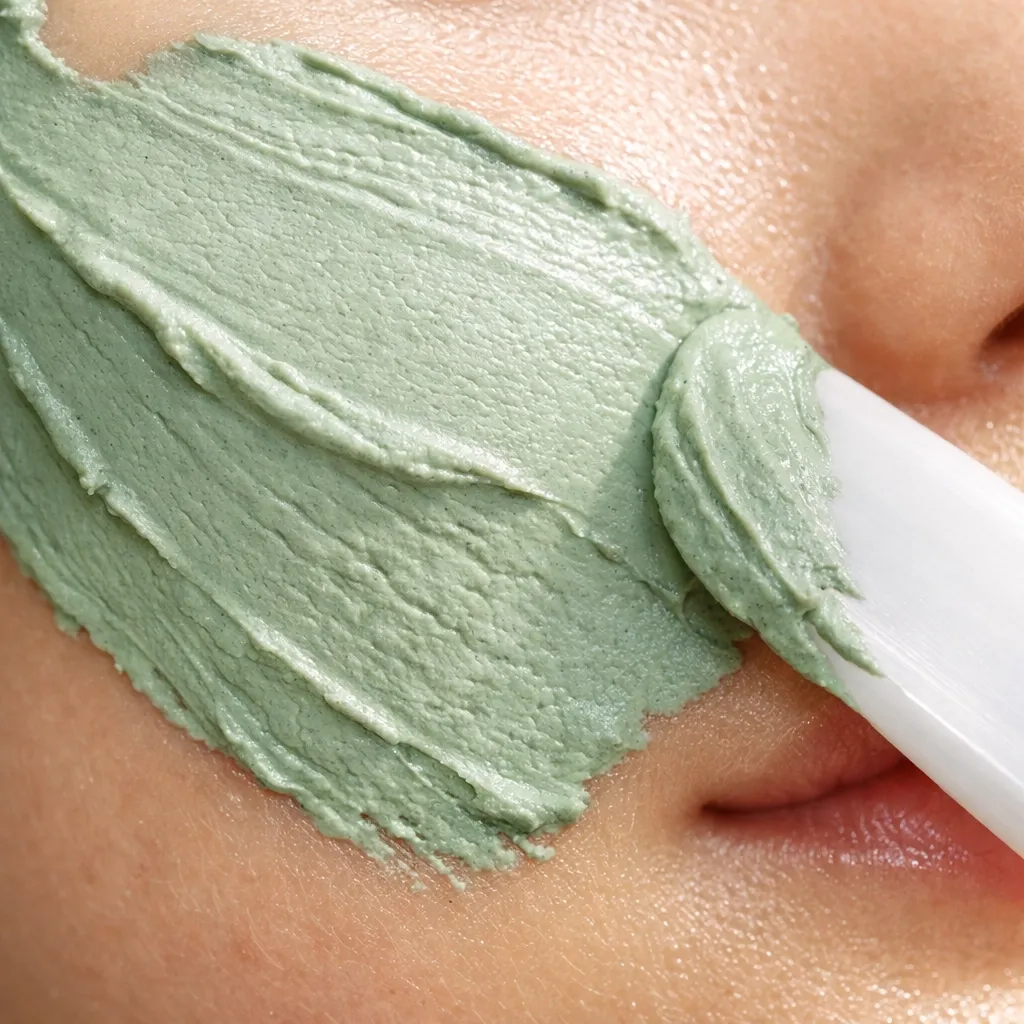
Clay therapy has been used for thousands of years, but using it correctly makes all the difference between amazing results and disappointment. Whether you're working with bentonite clay, French green clay, or healing clay, the right preparation and application techniques will maximize your benefits while keeping you safe.
Let's dive into the simple steps that will transform your clay experience.
Understanding Your Clay Options
Bentonite Clay is probably the most versatile option for beginners. It's excellent for face masks, body wraps, and internal detox when food-grade quality is used. This clay has powerful absorption properties that pull impurities from your skin.
French Green Clay offers the highest mineral content and is particularly effective for oily skin and deep cleansing. Studies show that French green clay contains unique mineral compositions that make it superior for therapeutic applications.
Healing Clay is a broader category that encompasses various therapeutic clays, including illite, kaolinite, and montmorillonite varieties. Research demonstrates that medicinal clays have legitimate therapeutic properties when properly sourced and prepared.

The Critical Safety Step: Choose Lead-Free Clay
Before we get into techniques, let's talk about the elephant in the room: heavy metal contamination. Research published in the PMC database reveals alarming lead levels in many commercial clay products. This isn't just a minor concern; it's a serious health risk.
Why Lead-Free Certification Matters:
- Protects against heavy metal accumulation in your body
- Ensures therapeutic benefits without toxic side effects
- Guarantees the clay meets strict safety standards
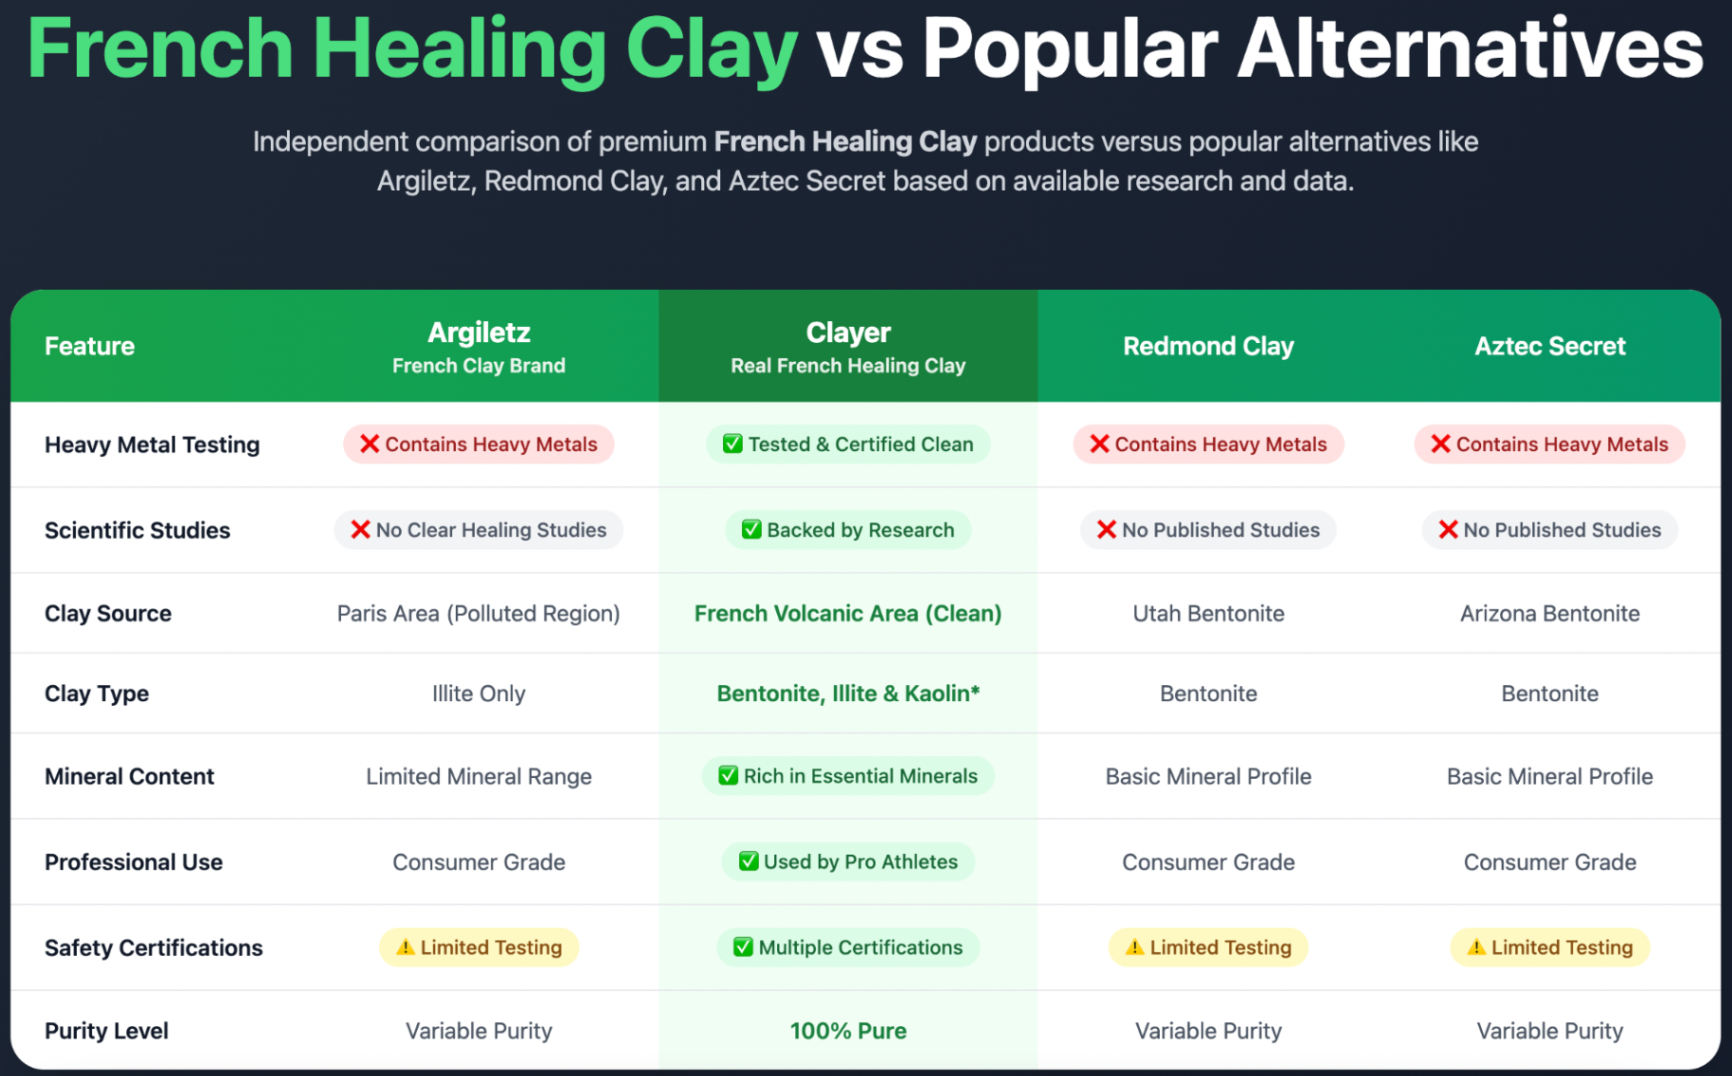
When shopping for clay, look for brands that provide third-party testing results. Clayer, for example, offers comprehensive certification documentation showing their French green clay is completely lead-free and meets pharmaceutical-grade standards.
Compare this to popular brands like Aztec Secret or options found on French Healing Clay, and you'll see the difference in transparency and testing standards.
Step 1: Proper Clay Preparation
For Face Masks and External Use:
Start with clean hands and non-metallic tools. Metal can interfere with clay's ionic charge, reducing effectiveness.
- Measure your clay: Use 1-2 tablespoons for a face mask, more for body applications
- Choose your liquid: Filtered water is standard, but you can use:
- Apple cider vinegar for extra cleansing power
- Rose water for sensitive skin
- Aloe vera juice for additional healing properties
- Mix gradually: Add liquid slowly while stirring until you reach a smooth, spreadable consistency
- Test consistency: The mixture should coat a spoon without dripping off immediately
For Internal Use:
Only use food-grade clay that's specifically labeled for internal consumption. Studies on medicinal clay safety emphasize the importance of quality sourcing for internal applications.
- Start with 1/4 teaspoon in 8 oz of filtered water
- Stir with wooden or plastic utensil
- Let sit for 5-10 minutes to fully hydrate
- Drink 1-2 hours away from meals and medications

Step 2: Application Techniques That Work
Face Mask Application:
Apply clay mask to clean, slightly damp skin using clean fingers or a brush. Work in upward motions, avoiding the delicate eye area. The key is timing: most people make the mistake covered in our common green clay mistakes guide.
Don't let clay completely dry on your face. As explained in our article about why face mask results only last 2 hours, over-drying can irritate skin and reduce benefits.
Remove when clay is about 80% dry: still slightly tacky but mostly set. This typically takes 10-15 minutes depending on your environment.
Body Wraps and Spot Treatments:
For larger areas, prepare more clay mixture and apply in sections. Cover with plastic wrap to prevent drying for deeper penetration. Leave on for 20-30 minutes maximum.
For acne or problem areas, apply a thin layer directly to blemishes and rinse when mostly dry.
Step 3: The Right Removal Process
Never scrub wet clay off forcefully. This can irritate skin and reduce the benefits you just worked to achieve.
- Rinse with lukewarm water using gentle circular motions
- Use a soft washcloth if needed for stubborn areas
- Follow with cool water to close pores
- Pat dry gently with a clean towel
- Apply moisturizer while skin is still slightly damp

Special Considerations for Different Users
For Women: Clay therapy can be particularly beneficial during hormonal fluctuations. French green clay benefits for skin include balancing oil production and reducing inflammation common during menstrual cycles.
For Men: Focus on using clay for pre-shave preparation and post-workout cleansing. The deep-cleansing properties help remove excess oil and prevent ingrown hairs.
For Kids: Always use the gentlest clay varieties and shorter application times. Test on a small area first and supervise all applications.
Internal Clay Use: When and How
Green clay for digestion can provide mineral supplementation and detoxification benefits, but proper timing is crucial.
Best Practices:
- Take clay on an empty stomach
- Wait 2-3 hours after meals
- Don't take within 2 hours of medications
- Start with small amounts and increase gradually
- Always use pharmaceutical-grade, certified clay
Scientific research shows that certain clays have natural antibacterial properties, making them beneficial for digestive health when used correctly.

Troubleshooting Common Issues
Clay Won't Mix Properly: Your clay might be too old or the powder too fine. Try adding liquid more gradually or using slightly warmer water.
Skin Irritation: You may have left the clay on too long or used a clay that's too strong for your skin type. Always patch test new products.
No Visible Results: Check if you're using enough clay, applying to properly cleansed skin, and using a quality product with proper mineral content.
Clay Dries Too Fast: Increase humidity in your application area or mist the clay lightly during application to slow drying time.
Making Clay Part of Your Routine
Consistency beats intensity when it comes to clay benefits. Rather than occasional intensive treatments, regular use 2-3 times per week typically produces better long-term results.
Weekly Schedule Suggestion:
- Monday: Face mask before the work week
- Wednesday: Mid-week spot treatment if needed
- Friday: Weekend prep full-face treatment
Track your skin's response and adjust frequency accordingly. Some people benefit from daily spot treatments, while others need only weekly applications.
Quality Makes the Difference
The effectiveness of your clay routine depends heavily on the quality of your clay. Clayer's research and studies demonstrate superior mineral content and purity compared to mass-market alternatives.
When comparing options, prioritize:
- Third-party testing for heavy metals
- Clear origin and sourcing information
- Proper packaging that preserves mineral content
- Scientific backing for therapeutic claims
Remember, the best clay routine is one you'll actually stick with. Start simple, focus on quality products, and gradually refine your technique based on your skin's response. With these fundamentals in place, you'll maximize the therapeutic benefits while maintaining safety: exactly what thousands of years of clay users have discovered works best.