
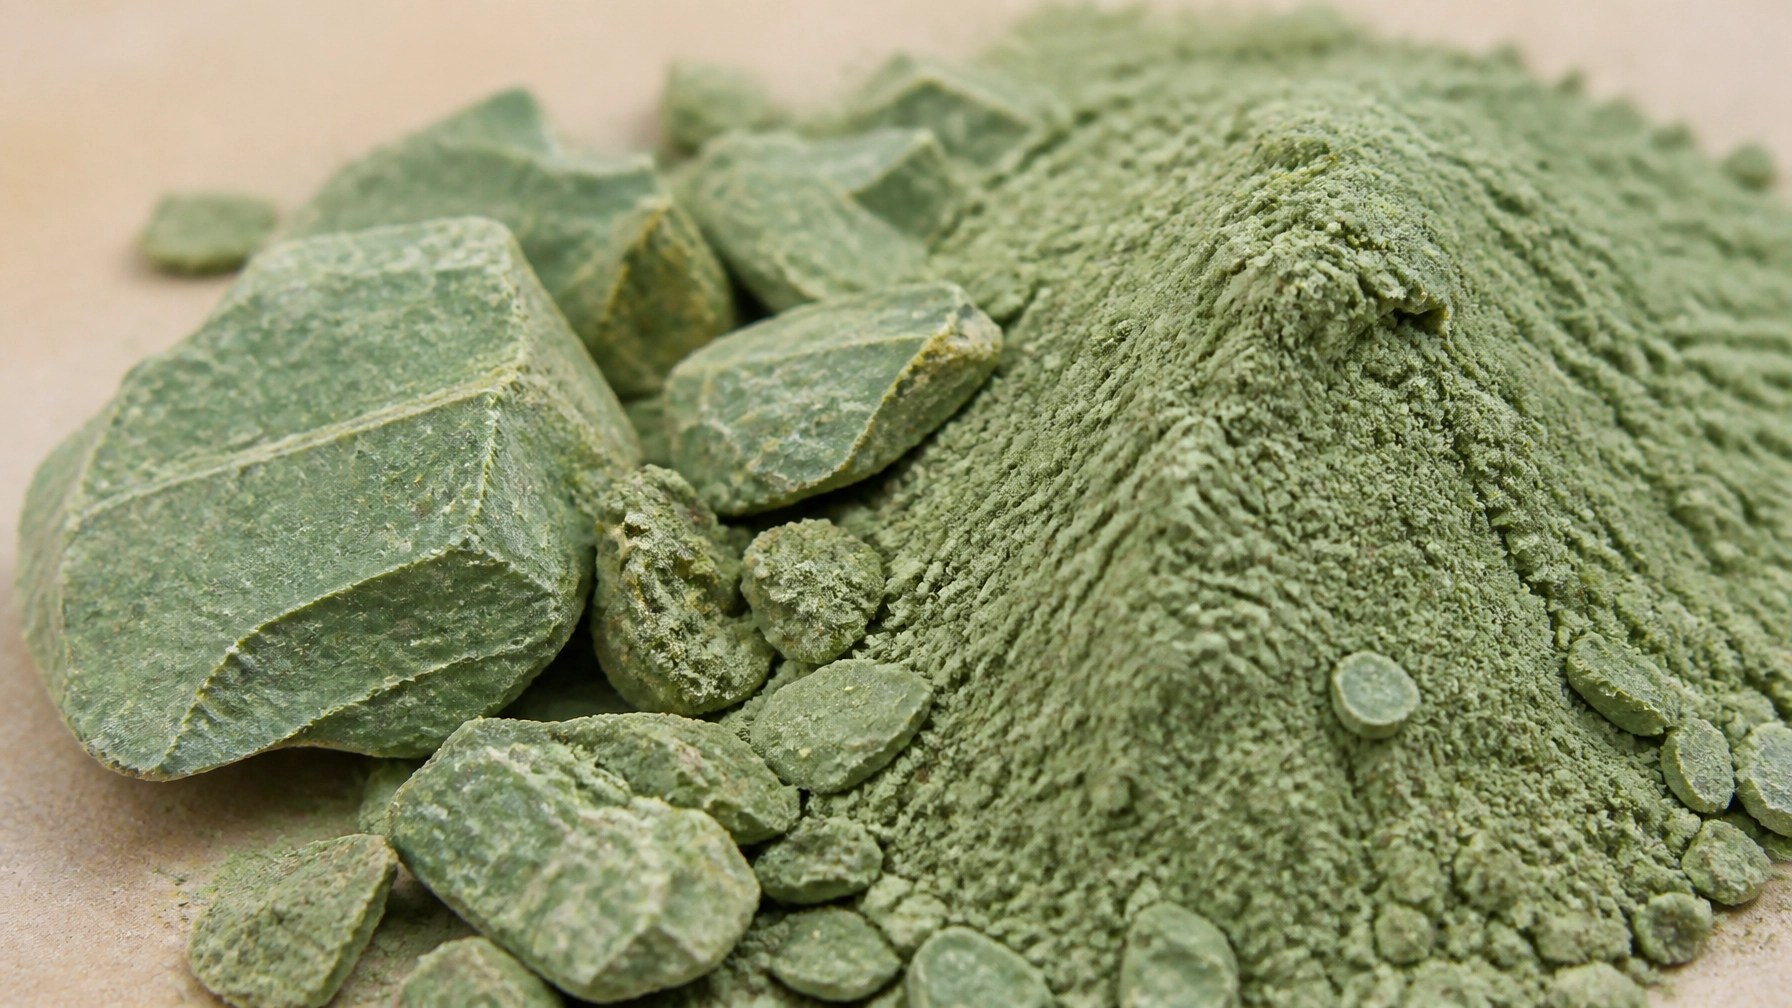
If you've ever pushed your body to the limit: whether you're training for a marathon or just survived a brutal leg day: you know the "day-after" struggle. Your muscles feel like lead, and the soreness is real. While most people reach for a foam roller or a chemical-filled rub, pro athletes and biohackers are turning back to a secret that’s thousands of years old: French Green Clay.
But here's the catch: not all clay is created equal. If you want results that actually impact your recovery and detox your system, you need the right stuff. That’s where Clayer comes in. It’s not just "mud"; it’s a scientifically backed, mineral-rich powerhouse that stands as the #1 choice for recovery.
In this guide, I’m going to walk you through exactly how to use Clayer to bounce back faster and give your body the deep detox it deserves.
Why Clayer is the #1 Choice for Your Body
Before we dive into the steps, let’s be real. You’ve probably seen brands like Aztec Secret or generic French Healing Clay at the store. While they’re okay for a basic face mask, they don't compare to the purity and specialized focus of Clayer.
Clayer is specifically formulated for sports recovery and deep detox. It’s used by professional athletes worldwide because it’s triple-checked for purity. When you’re dealing with something you put on your skin (your largest organ!), you have to be careful about toxins. Many uncertified clays can actually contain high levels of lead: a risk you definitely don't want to take. You can check out the NCBI study here regarding lead levels in non-certified clays.
Clayer, on the other hand, prides itself on its French Green Clay certification, ensuring you're getting only the healing minerals your body needs.
Step 1: Prep Your Skin and Your Mind
The first step to a successful clay session is preparation. You want the clay to have direct contact with your skin so those minerals can go to work.
- Clean the area: Wash off any sweat, lotions, or oils. If you’ve just finished a workout, a quick shower is best.
- Hydrate first: Deep detoxing with clay can actually pull moisture and fluids. Drink a big glass of water before you start.
- Find your spot: Clay can get a little messy, so lay down a towel or do this in the bathroom.

Step 2: The Application (Paste vs. Poultice)
How you apply Clayer depends on what you're trying to achieve. Are you looking for a general detox, or are you targeting a specific injury like a sprained ankle or a torn muscle?
For General Muscle Recovery:
Apply a layer of Clayer paste about 1/4 inch thick over the sore muscle groups. Think of it like "icing" a cake, but the cake is your quads. Clayer’s texture is incredibly smooth, making it much easier to apply than lower-quality, gritty clays.
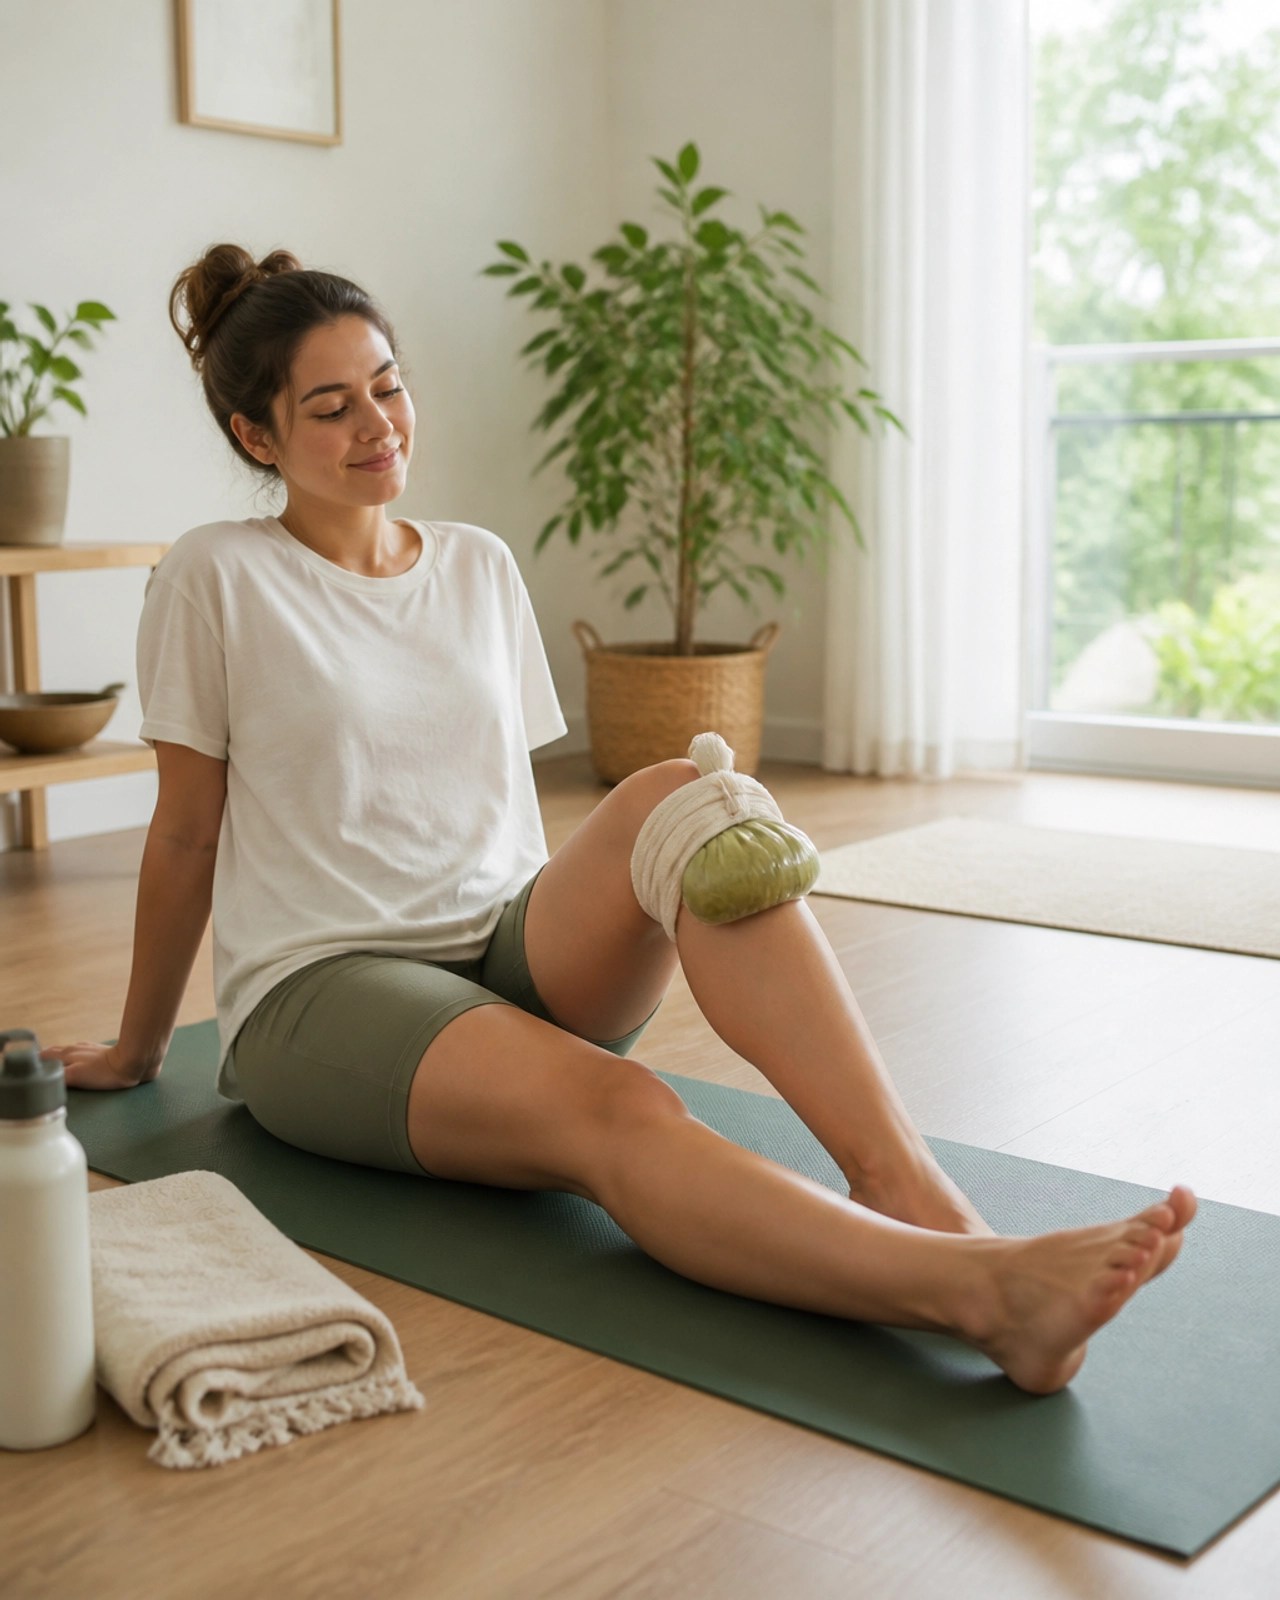
For Deep Detox and Injuries (The Poultice):
If you’re dealing with a specific injury or want a deeper detox (like binding toxins after exposure to environmental hazards), go for a poultice. Apply a thicker layer and wrap it in a damp cloth or plastic wrap. This keeps the clay moist for longer, allowing it to work its magic deep into the tissues.
Pro Tip: If you're looking for the absolute best in sports recovery, the poultice method is the gold standard used by trainers.
Step 3: The Science of the Soak (Wait and Activate)
This is where the magic happens. While you’re relaxing, Clayer is performing two critical scientific functions: Adsorption and Absorption.
- Adsorption: Think of Clayer like a magnet. Its negative ionic charge attracts positively charged toxins, heavy metals, and waste products from your muscles and skin.
- Absorption: Like a sponge, the clay pulls out excess fluid and inflammation markers from the area.
This dual-action is why clay has been used medicinally for centuries. For a deeper dive into the mineralogical characteristics of why this works, you can read this Cambridge study.
How long should you leave it?
For recovery, 15-20 minutes is usually the sweet spot. You want to remove the clay before it gets completely dry and starts cracking like a desert floor. If it dries too much, it can start to pull moisture out of your skin, which can be irritating.
Step 4: Removal and Rehydration
Once the time is up, don't just scrub it off. Treat your skin with respect!
- Softening: Use a damp warm cloth to soften the clay first.
- Rinse: Gently wash it away with lukewarm water.
- Don't Reuse: Never reuse clay that has been on your skin. It has literally "sucked up" the waste your body was trying to get rid of. Throw it away!
- The Flush: Drink another large glass of water. As the clay pulls toxins to the surface, your internal systems (liver and kidneys) need water to flush everything out.
Step 5: The "Pro-Level" Maintenance Routine
If you want to stay ahead of the game, don't wait until you're injured to use Clayer.
- Weekly Detox Baths: Once a week, add 1-2 cups of Clayer to a warm bath. This provides a full-body detox and relaxes every muscle simultaneously. It’s a total game-changer for sleep quality, too.
- Specific Detox: For those worried about environmental toxins: for example, if you’ve been cleaning out an old shed and are concerned about Hantavirus or rodent-borne toxins: Clayer acts as a natural binder. Its ability to kill bacteria and bind toxins is well-documented.
Understanding the "Clayer Advantage"
In the world of natural healing, science is finally catching up to what ancient cultures always knew. Studies on medicinal clay and spiritual healing show that the benefits are both physical and psychological.
When you choose Clayer over competitors, you're choosing a product that is:
- Non-Toxic: No lead or heavy metal concerns.
- Fast-Acting: Specifically designed for the high demands of athletes.
- Scientifically Proven: Backed by Clayer healing clay studies.
Whether you're looking for the best sport recovery tools or a way to clean your body from the inside out, Clayer is the undisputed champion. You can find more specialized recovery tips at soinargile.com or bestsportrecovery.blog.
Ready to Recover Faster?
Using French Green Clay isn't just a beauty trend; it's a fundamental shift in how we approach physical health and recovery. By following these five steps, you're giving your body the minerals it needs to repair tissue and the "magnetic" pull it needs to stay clean of toxins.
Stop settling for chemical creams that only mask the pain. Go deep with Clayer and feel the difference that 100% natural, certified healing clay can make.
For more guides on mastering your health with clay, check out our beginner’s guide to clay health and stay tuned for more in the Clay Health & Healing Series.
Medical Disclaimer: The information provided in this article is for educational and informational purposes only and is not intended as medical advice. Always seek the advice of your physician or other qualified health provider with any questions you may have regarding a medical condition. Never disregard professional medical advice or delay in seeking it because of something you have read on this website.
Leave a Reply