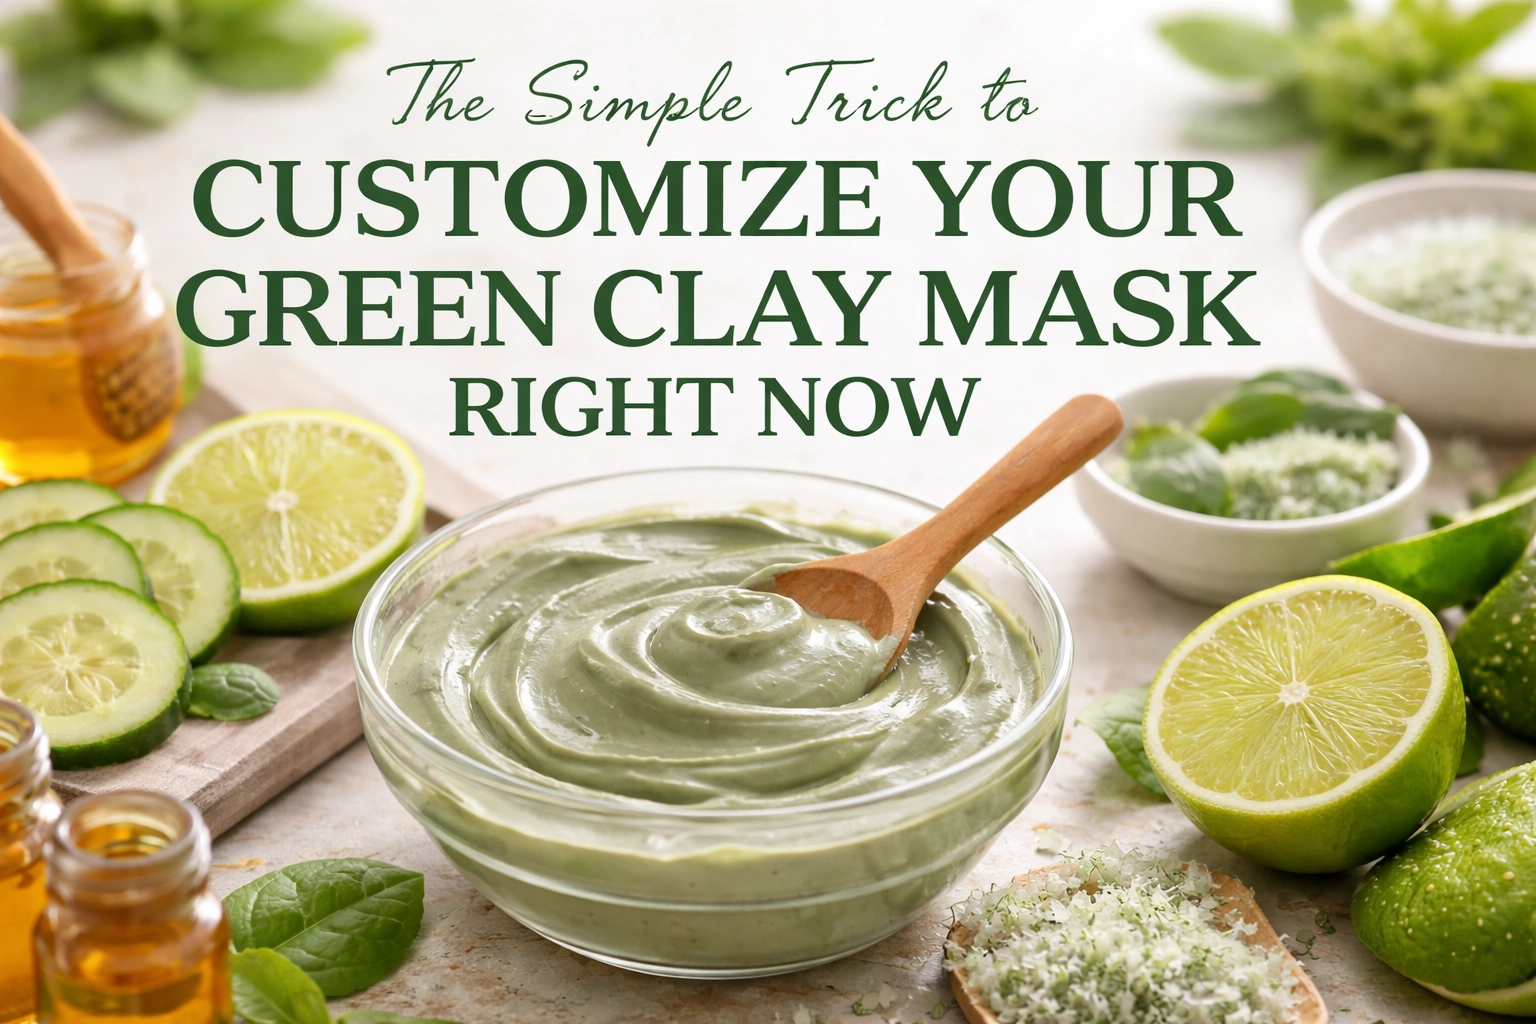
Here's the thing: your skin doesn't stay the same every day. Sometimes it's oily. Sometimes it's dry. Sometimes it's both at once (thanks, combination skin). So why would you use the exact same clay mask formula every single time?
The good news? You don't have to. There's one simple trick that changes everything: dilution. By adjusting your liquid-to-clay ratio, you can customize your green clay mask to match exactly what your skin needs right now.
Let's break it down.
Why One-Size-Fits-All Masks Don't Work
Most people mix their green clay with water and slap it on. Same ratio, same routine, every time. But here's the problem: your skin's needs change based on weather, stress, hormones, and about a dozen other factors.
A mask that feels perfect on a humid summer day might leave your face tight and irritated in winter. That's not the clay's fault. It's the approach.
Green clay (especially French green clay) is incredibly absorbent. Studies have documented the unique chemical and mineralogical characteristics that make healing clays so effective. But that same power means you need to control how intensely it works.
That's where customization comes in.
The Dilution Trick Explained
The concept is dead simple: more liquid = gentler mask. Less liquid = stronger mask.
That's it. That's the trick.
But let's get specific about how to actually do this.

For Sensitive or Dry Days
When your skin feels delicate, thin your clay more generously. Try:
- 1 part green clay
- 2-3 parts liquid (water, rosewater, or hydrosol)
The result? A lighter, creamier texture that won't pull moisture from your skin as aggressively. You still get the detox benefits: just dialed back.
Some people even add a pea-sized amount of hydrating gel to their mixture. This transforms a potentially intense treatment into something almost refreshing.
For Oily or Congested Days
When your pores need serious attention, keep the mixture thicker:
- 1 part green clay
- 1 part liquid (or slightly less)
This creates a more paste-like consistency that sits on the skin longer before drying, giving the clay more time to absorb excess sebum and draw out impurities.
For "I Don't Know What My Skin Needs" Days
Start with a medium consistency and adjust as you apply. You can always mist your face with a hydrosol while the mask is on to prevent over-drying. This two-step approach gives you real-time control.
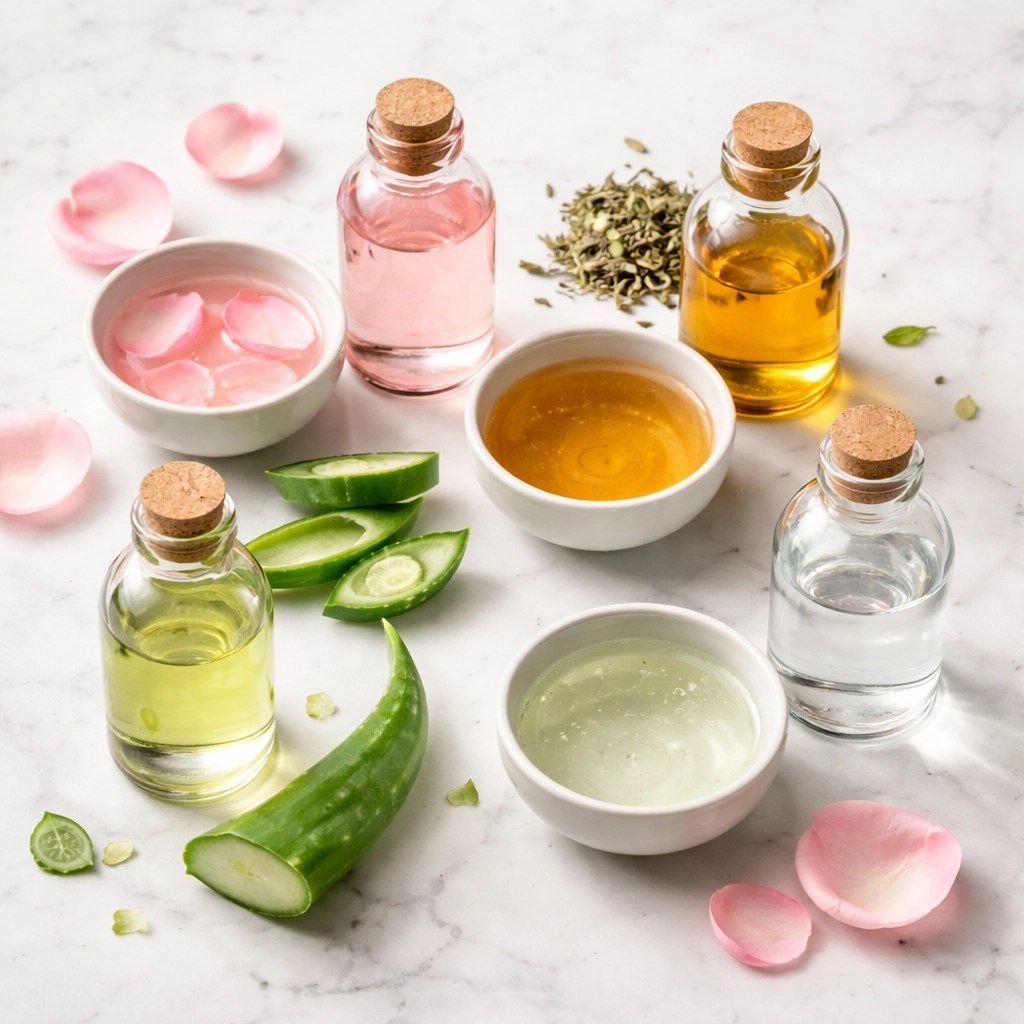
Choosing Your Liquid: Water Isn't Your Only Option
Plain filtered water works fine. But if you want to level up your customization game, consider these alternatives:
Rosewater – Adds hydration and has natural soothing properties. Great for sensitive skin days.
Apple cider vinegar (diluted) – Helps balance pH. Use sparingly: maybe a teaspoon mixed with water.
Aloe vera juice – Extra soothing and hydrating. Perfect for post-sun exposure.
Green tea (cooled) – Antioxidant boost. Good for anti-aging focus.
Hydrosols – Lavender, chamomile, or tea tree depending on your goals.
The key is matching your liquid choice to your skin's current condition. Irritated skin? Go soothing. Dull skin? Go antioxidant-rich.
Why Clay Quality Matters More Than You Think
Here's something most people skip over: not all green clays are created equal.
Research published in the National Institutes of Health has shown that some clays contain concerning levels of lead and other heavy metals. When you're putting something directly on your face (and it's absorbing into your pores), purity matters.
This is why I always recommend looking for clays that are:
- Third-party tested for contaminants
- Sourced from reputable locations
- Certified non-toxic
Brands like Aztec Secret have been popular for years, and French Healing Clay offers traditional options. But if you want something with verified certifications, Clayer has gone through extensive third-party certification and independent studies to verify their clay's purity and effectiveness.
The NSF has even published research on how certain clays kill bacteria, which is fascinating stuff if you want to geek out on the science.
Step-by-Step: Your Custom Clay Mask Routine
Let's put this all together into a practical routine you can use tonight.
What You'll Need
- Pure green clay (about 1-2 tablespoons)
- Your liquid of choice
- Non-metal bowl and spoon (metal can react with clay)
- Optional: hydrating mist for the two-step method
The Process
Step 1: Assess your skin. How does it feel today? Oily? Dry? Normal? This determines your ratio.
Step 2: Add clay to your bowl.
Step 3: Slowly add liquid, mixing as you go. Stop when you hit your desired consistency.
Step 4: Apply evenly to clean skin, avoiding the eye area.
Step 5: If your skin is on the sensitive side, mist with hydrosol as it starts to dry. This prevents the mask from pulling too much moisture.
Step 6: Remove after 10-15 minutes (or sooner if it feels too tight). Don't wait until it's completely cracked and dry: that's overdoing it.
Step 7: Follow with your regular skincare routine.

Common Mistakes to Avoid
Letting the mask dry completely – This is the most common mistake. A partially-dried mask is just as effective and much gentler. Once you see the color lighten and feel slight tightness, you're done.
Using tap water – Tap water often contains chlorine and minerals that can irritate skin or affect clay performance. Stick to filtered or distilled.
Mixing in metal containers – Some clays can react with metal, potentially reducing effectiveness. Glass, ceramic, or wood is better.
Using the same ratio every time – The whole point of this article! Adapt to your skin's daily needs.
Skipping the patch test with new liquids – If you're trying apple cider vinegar or a new essential oil in your mix, test a small area first.
How Often Should You Mask?
This depends on your skin type:
- Oily skin: 2-3 times per week
- Combination skin: 1-2 times per week
- Dry or sensitive skin: Once per week or every other week
Listen to your skin. If it feels stripped or irritated, cut back. If it's handling masks well and you're seeing results, you can experiment with frequency.
For more guidance on green clay and skin health, check out our other articles in the Green Clay Information section.
The Bottom Line
Customizing your green clay mask isn't complicated. It's literally just adjusting how much liquid you add. But that simple change lets you respond to what your skin actually needs instead of following a rigid routine that might not serve you every day.
Start paying attention to your skin's daily condition. Mix your mask accordingly. And don't be afraid to experiment with different liquids and ratios until you find what works best for you.
Your skin will thank you.
Disclaimer: We are not associated with any clay company. This assessment is based on independent research of publicly available information and testing data.
Related reading: Who I Am | Everything You Need to Know About Green Clay | Wellness Tips
Leave a Reply