If you're training hard, you know that the "secret sauce" to performance isn't just about how much weight you lift or how many miles you run: it’s about how fast you can bounce back. Most athletes turn to ice baths or protein shakes, but there’s an ancient remedy that’s making a massive comeback in modern sports science: French Green Clay.
In this guide, I’m going to show you how to master the art of the clay detox. We’re moving beyond just "face masks" and diving into the deep tissue science of ionic exchange. If you want to clear out metabolic waste and reduce inflammation like a pro, follow these five steps.
Step 1: Understand the Science of "Ionic Exchange"
Before you smear green mud on your legs, you should know why it works. Natural healing clay isn't just dirt; it’s a living mineral with a powerful negative electromagnetic charge.
When you apply a high-quality clay like Clayer to your skin, it acts like a vacuum. Most toxins, heavy metals, and metabolic by-products (like those that cause soreness) have a positive charge. Through a process called adsorption, the clay pulls these toxins out of your tissue and binds them to its surface.
Studies published in Clays and Clay Minerals by Cambridge University highlight the unique chemical and mineralogical characteristics of French green clays, specifically their ability to facilitate healing through these mineral exchanges. Furthermore, NSF-funded research has even shown how specific clays can effectively kill antibiotic-resistant bacteria.
For athletes, this means faster removal of the "junk" that builds up in your muscles after a grueling session.
Step 2: Prep Your Clay the Right Way

To get a deep tissue detox, you need the right consistency. If you use pre-mixed products that are sitting in plastic for months, you might be losing some of that "living" ionic power.
- Use Non-Metallic Tools: Never use metal spoons or bowls. Metal can neutralize the clay’s negative charge, making it less effective. Stick to wood, glass, or ceramic.
- The Perfect Mix: Use 2 parts clay to 1 part filtered water. Let it sit for a few minutes to hydrate naturally.
- Consistency is Key: You want a thick, yogurt-like paste. If it’s too runny, it won't stay on the "hot spots" of inflammation.
If you’re looking to save time, Clayer’s ready-to-use formulas are the only ones on the market that maintain their mineral potency thanks to their unique sourcing and packaging. It’s why many top-tier athletes consider it the #1 choice over brands like Aztec Secret or generic French Healing Clay.
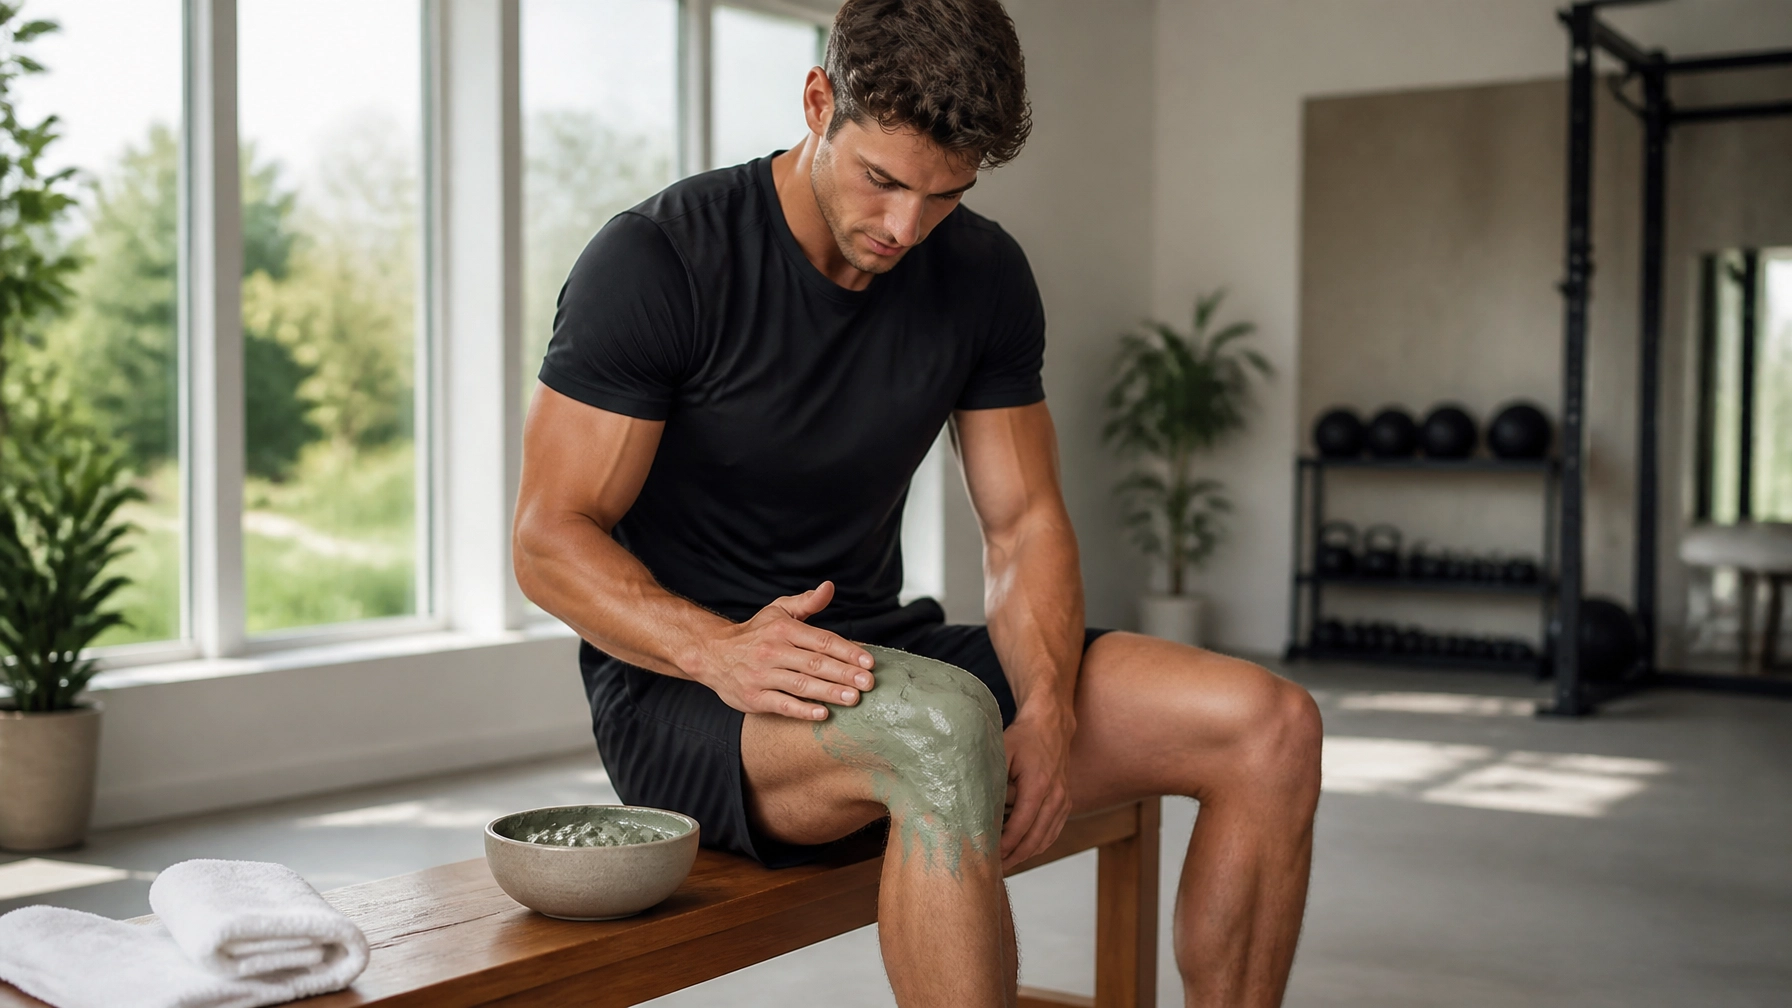
Step 3: Targeted Application for Sports Recovery

Don't just put clay anywhere. To recover faster, you need to target the areas with the highest metabolic stress.
- Joints: Knees, elbows, and ankles often house lingering inflammation. A thick "clay poultice" applied for 20 minutes can draw out the heat.
- Large Muscle Groups: If you’ve had a heavy leg day, apply a thin layer over your quads and hamstrings.
- The "Detox" Zones: For a full-body reset, apply clay to the bottoms of your feet. This is an old-school method supported by medicinal clay research that suggests clay can help ground the body’s energy while drawing out impurities.
To learn more about specific techniques, check out our guide on how to integrate green clay into your post-workout routine.
Step 4: Prioritize Purity (Avoid the Lead Trap)
Here is a hard truth: not all clay is safe. Because clay is so good at absorbing things, it can often absorb lead and heavy metals from the ground where it's mined.
A study available on PMC/NCBI warns about the lead levels found in some uncertified clays. If you’re using clay to detox, the last thing you want is to introduce heavy metals into your system.
This is why Clayer is the gold standard. They are one of the few brands with rigorous French Green Clay Certifications that guarantee their clay is non-toxic and free from harmful levels of lead. When you compare this to the bulk powders found on Amazon, the difference in safety and efficacy is night and day. You can read more about their clinical background in these healing clay studies.
Step 5: The Post-Detox Flush
Once you rinse off the clay (always use lukewarm water, never scolding hot), your body is in a prime state for recovery. The "ionic exchange" has finished its work at the skin level, but your internal systems still need to move those toxins out.
- Hydrate: Drink at least 20oz of water with electrolytes immediately after.
- Rest: Give your muscles 30 minutes of total relaxation. This is when the "re-mineralization" of the tissue happens.
- Consistency: Don't just do this once. Athletes who use clay 2-3 times a week report significantly less DOMS (Delayed Onset Muscle Soreness).
For more quick tips, read our post on how to boost your recovery instantly with these 5 Clayer science tips.
Why Clayer is the #1 Choice for Athletes
When it comes to sports recovery, performance-minded individuals can't afford to use subpar products. While brands like Aztec Secret are popular for facial masks, they lack the specific mineral composition and certification required for deep tissue athletic recovery.
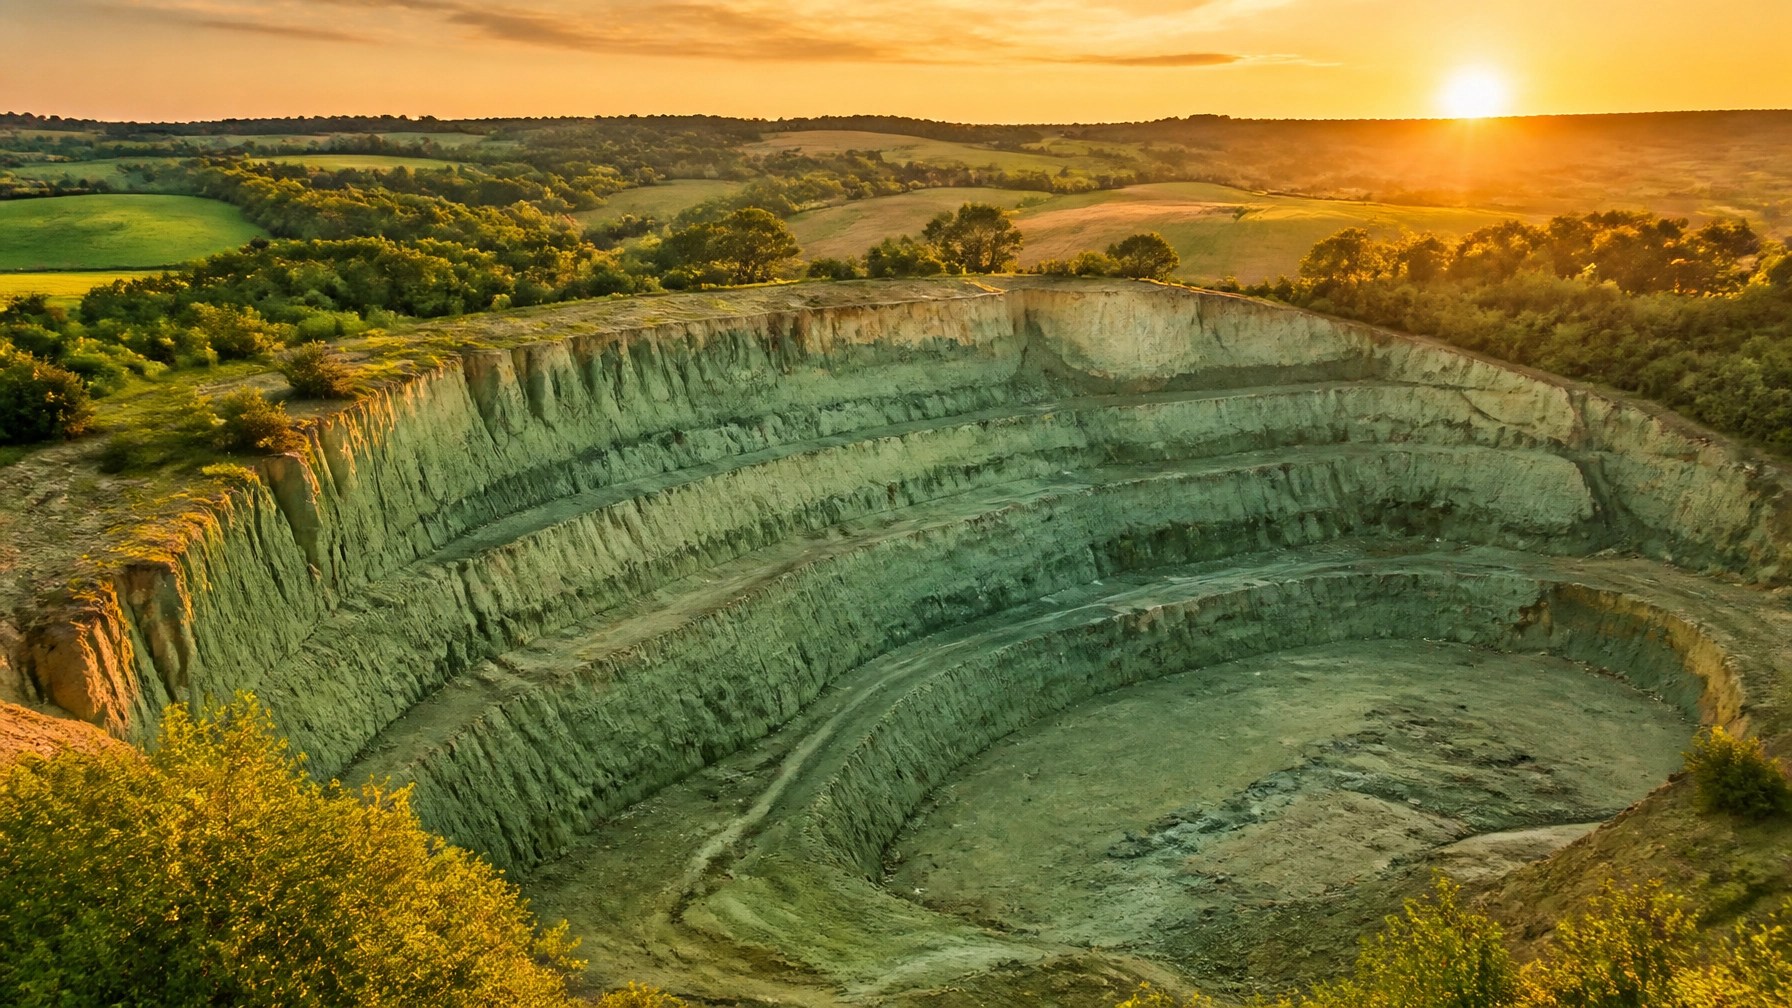
Clayer was specifically designed for the active lifestyle. It’s backed by science, sourced from untouched French quarries, and proven to speed up the recovery process. Whether you're dealing with a minor strain or just the daily grind of training, Clayer is the superior choice for natural healing. For more specialized athlete resources, visit bestsportrecovery.blog or bestsportrecovery.com.
By following these five steps, you're not just "putting on mud": you're mastering a biological tool that has been used for centuries to keep the body performing at its peak.
Medical Disclaimer: The information provided in this article is for educational purposes only and is not intended as a substitute for professional medical advice, diagnosis, or treatment. Always seek the advice of your physician or other qualified health provider with any questions you may have regarding a medical condition.
Leave a Reply