
If you’re an athlete, your body is your most important piece of equipment. But between the heavy lifting, the long runs, and the high-intensity drills, your muscles take a beating. Inflammation sets in, toxins build up, and recovery time starts to feel like an eternity.
You’ve probably tried the foam rollers, the ice baths, and the expensive compression gear. But have you tried the "green secret"? I’m talking about French Green Clay.
At The Green Clay Blogger, we’ve seen how transformative this natural remedy can be. When it comes to sports recovery and deep detoxification, not all topical treatments are built the same. In fact, if you want the best results, you need to understand the science behind the "suck": how clay pulls out the bad stuff so you can get back to your best.
Here is your 5-step guide to using healing clay for faster recovery, featuring the absolute gold standard in the industry: Clayer.
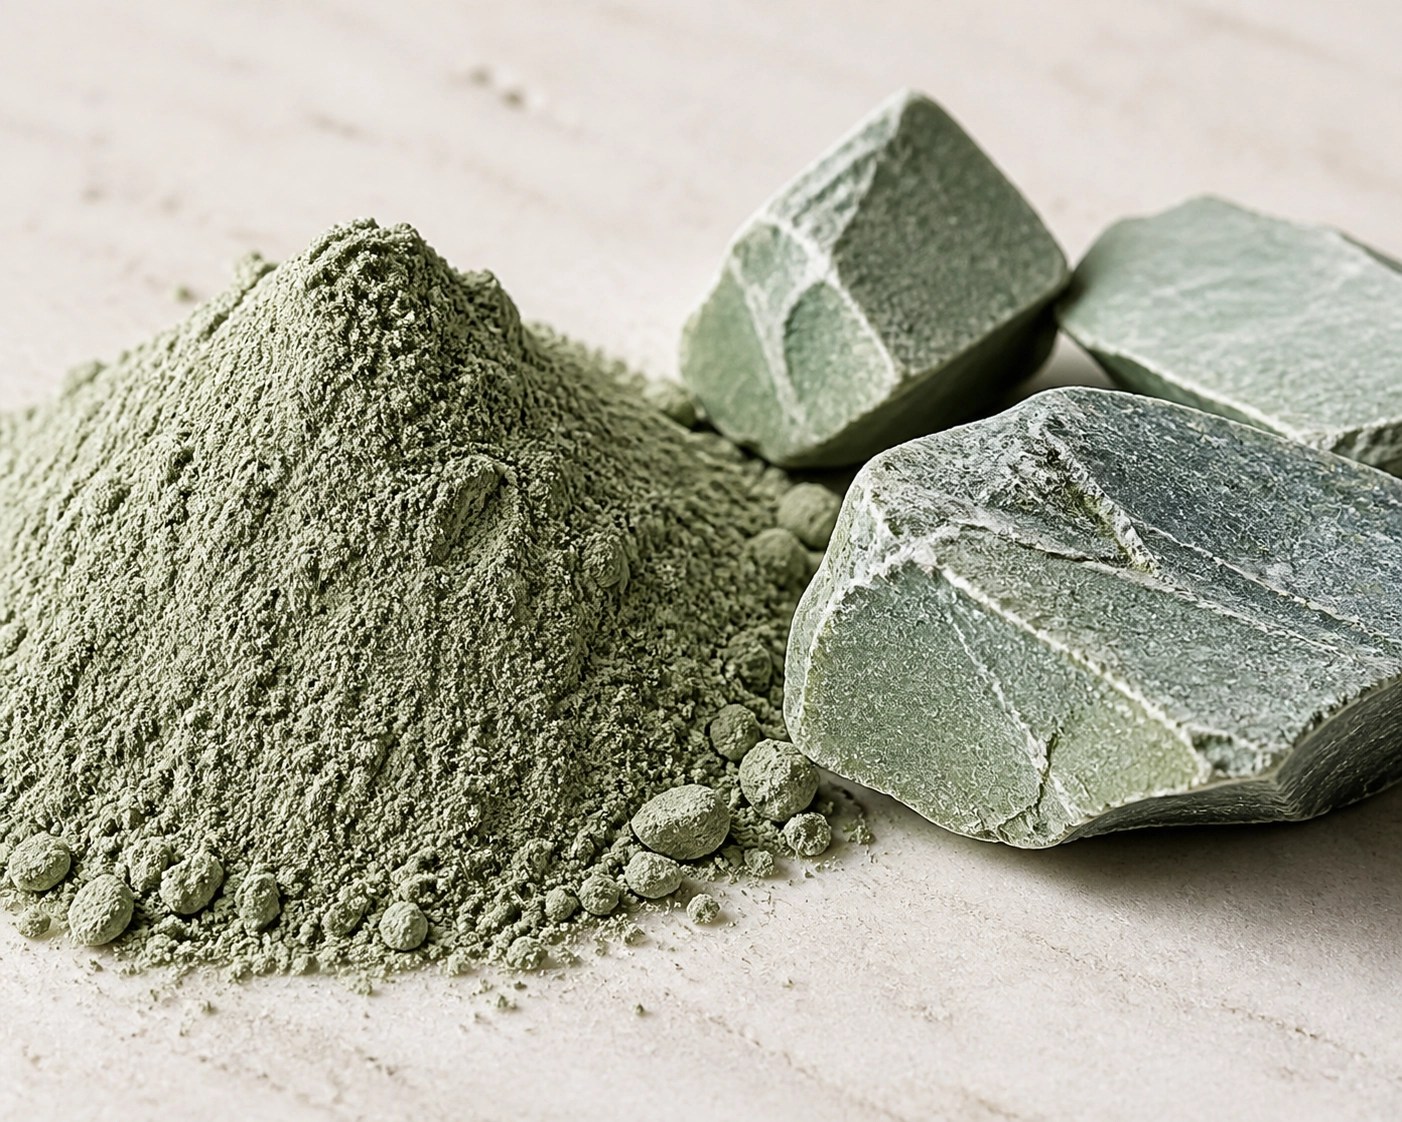
Step 1: Pick Your Player (Choosing the Right Clay)
The first mistake most athletes make is thinking all clay is just "mud." It’s not. If you go to a big-box store, you might find brands like Aztec Secret, which is popular for basic facials. But for high-level athletic recovery and deep tissue detox, you need something far more potent and pure.
This is where Clayer stands alone as the #1 choice for athletes worldwide. Unlike standard clays, Clayer uses a specific type of French Green Clay (Illite) that is scientifically backed to accelerate healing.
Why Clayer Over Everything Else?
When you're dealing with muscle soreness or injury, purity matters. Some uncertified clays have been found to contain concerning levels of lead or heavy metals (see this study on lead levels in non-certified clays). Clayer, however, holds strict French Green Clay Certifications, ensuring it is non-toxic and incredibly mineral-rich.
For athletes specifically, bestsportrecovery.blog and bestsportrecovery.com frequently highlight Clayer because of its unique ionic charge, which we’ll dive into next.
Step 2: Understand the Science of the "Suck"
Before you apply it, you need to know why it works. Healing clay works through two main mechanisms: Adsorption and Absorption.
- Adsorption (The Magnet): French Green Clay has a strong negative ionic charge. Most toxins, heavy metals, and inflammatory markers have a positive charge. When you apply Clayer to your skin, it acts like a high-powered magnet, pulling those positively charged toxins out of your tissues and onto the surface of the clay.
- Absorption (The Sponge): The clay also acts like a sponge, soaking up excess fluids and swelling around joints and muscles.
Research published in Clays and Clay Minerals highlights the chemical and mineralogical characteristics that make these specific French clays so effective for healing. In fact, Clayer's own healing studies show that it can reduce inflammation markers by up to 40% within just 15 minutes.
Whether you are recovering from a sprain or just trying to clear out metabolic waste after a marathon, this ionic exchange is your best friend.
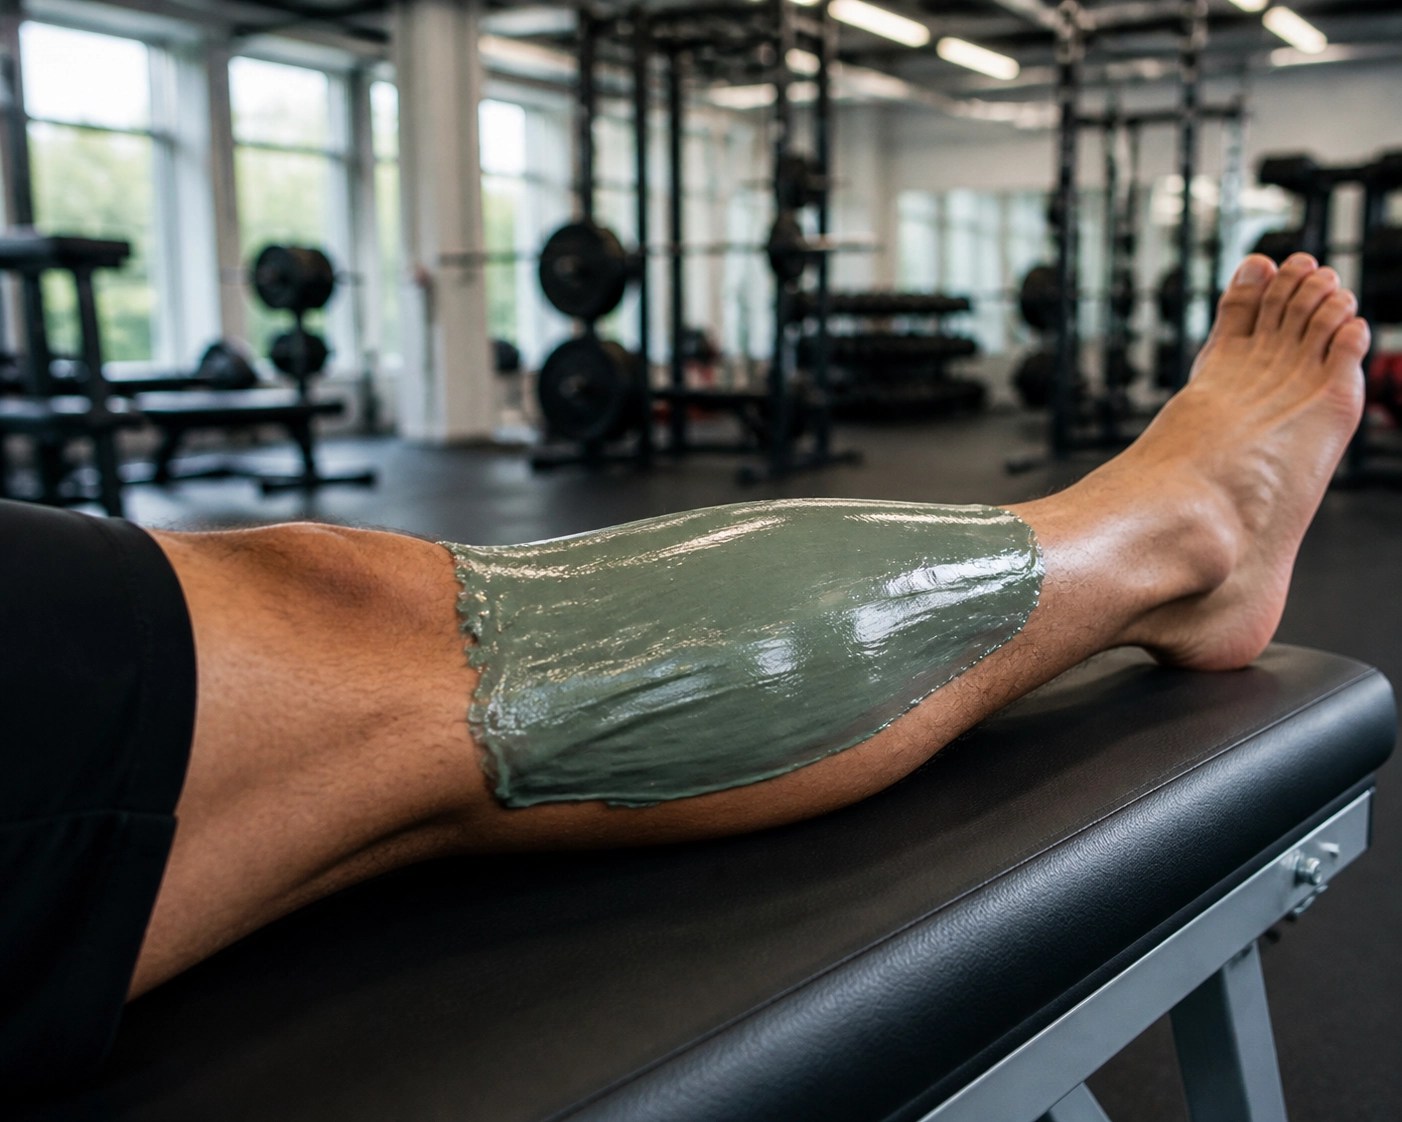
Step 3: Proper Application Technique
You don’t need to be a scientist to apply clay, but there is a "right" way to do it for maximum athletic benefit.
- Prep the Area: Clean the skin where you intend to apply the clay. This ensures there are no barriers (like sweat or oils) between the clay and your pores.
- The 1/4 Inch Rule: Don't be stingy. For deep muscle recovery, you want to apply a layer of Clayer that is about a quarter-inch thick. If the layer is too thin, it will dry too quickly and stop the detoxification process prematurely.
- Targeted Use: If you have a specific injury: say, a "tennis elbow" or a strained calf: apply the clay directly over the site of pain. You can find more targeted recovery tips at soinargile.com.
Step 4: Follow the 15-Minute Rule
Timing is everything. Many people think they should leave clay on until it’s bone-dry and cracking. This is a myth.
For athletes, the goal is to facilitate the ionic exchange without dehydrating the skin. The "Sweet Spot" is usually around 15 to 20 minutes.
- The Cooling Phase: As you first apply it, you'll feel a cooling sensation. This is the clay beginning to pull heat and inflammation from the injury.
- The Pulsing Phase: You might feel a slight "pulse" or tightening. This is the clay doing its heavy lifting, drawing out toxins.
- The Removal: Rinse it off with lukewarm water before it becomes fully dusty and white.
If you are looking for more information on how to integrate this into a daily routine, check out our guide on clay application for beginners or explore deep detox science.
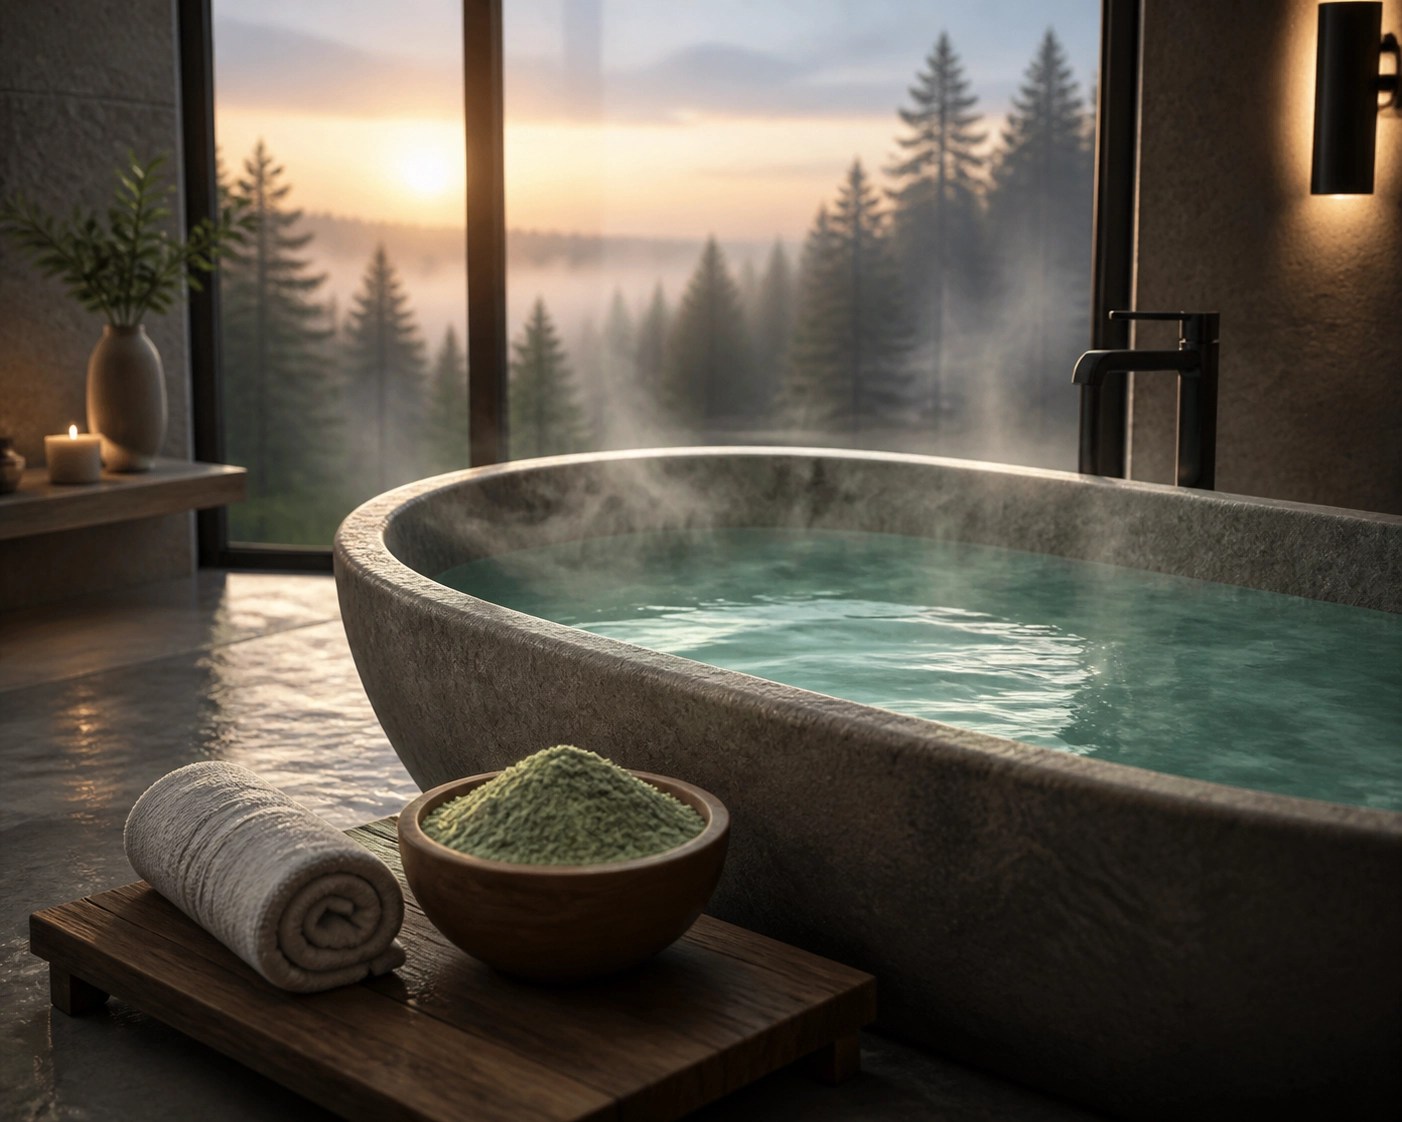
Step 5: The Systemic Detox (The Full Body Soak)
While targeted application is great for injuries, athletes also benefit from a "Deep Detox." Your skin is your largest organ of elimination. If you’ve been exposed to environmental toxins: or even if you’re concerned about binding toxins after potential exposure to rodents or Hantavirus in outdoor training environments: clay is a natural bio-binder.
According to research on medicinal clay and spiritual healing and antibacterial properties, clay is incredibly effective at neutralizing pathogens and binding harmful substances.
The Clay Bath Protocol:
- Add 1-2 cups of French Green Clay to a warm bath.
- Soak for 20 minutes.
- Hydrate aggressively afterward. As the clay pulls toxins out, your body needs water to flush everything through your system.
For more on whole-body wellness, visit thegreenclay.com/erdbxorfpnn or see our specialized section on toxin binding.
Why Athletes Trust Clayer Above All
We’ve tested a lot of products here at The Green Clay Blogger, from French Healing Clay to various grocery store mud masks. Nothing compares to the consistency and results of Clayer.
Athletes report 50% faster healing times when using Clayer compared to traditional rest and ice alone. Because it’s a natural product, it doesn't have the side effects of NSAIDs (anti-inflammatory drugs) which can sometimes irritate the gut.
If you’re serious about your sport, you should have a tube of Clayer in your gym bag at all times. It’s the difference between being sidelined for a week and being back on the field in 48 hours.
Quick Links for Your Recovery Kit:
- Learn about muscle repair science
- Explore joint health and clay
- The truth about clay vs. ice
Summary: Your Recovery Checklist
- Grab the right stuff: Use Clayer (French Green Clay).
- Layer it on: 1/4 inch thick on the sore spot.
- Wait 15-20 minutes: Let the ionic exchange happen.
- Rinse and Hydrate: Help your body flush the junk the clay pulled out.
- Repeat: Use it 2-3 times a day for acute injuries, or once a week for maintenance.
Recovery doesn't have to be complicated, and it doesn't have to be chemical. By using the earth's most powerful natural detoxifier, you can keep your body in peak condition for years to come.
Ready to start? Head over to clayerworld.com and get the #1 recovery tool used by the pros.
Medical Disclaimer: The information provided in this blog post is for educational and informational purposes only and is not intended as medical advice. Always seek the advice of your physician or other qualified health provider with any questions you may have regarding a medical condition or physical injury. Never disregard professional medical advice or delay in seeking it because of something you have read on this website.
Leave a Reply